

Creating a visually appealing and effective email can be a time-consuming process. To streamline your workflow, saving custom-designed emails as templates for future use is an efficient strategy. This guide will walk you through saving an existing email as a template and creating a new template from scratch using a drag-and-drop editor.
Save an existing email as a template
1. Start by going to Outbound > Email from the top navigation bar.
2. Choose an existing draft email you wish to convert into a template. Open this email in the editor.
3. In the email editor, hover over the three-dot icon next to the Save button on the bottom toolbar.

4. Click on Save as template. You will be prompted to give your new template a name.
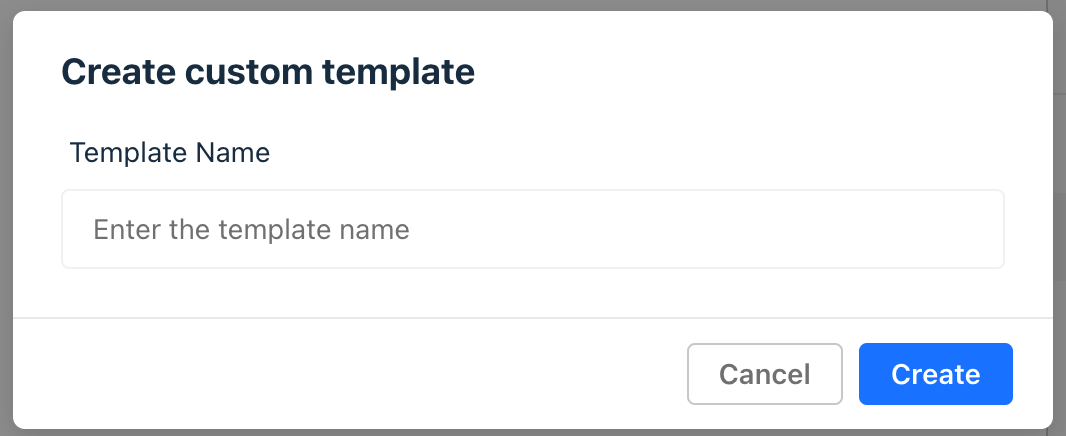
5. After naming it, click Create.
Create a template from scratch
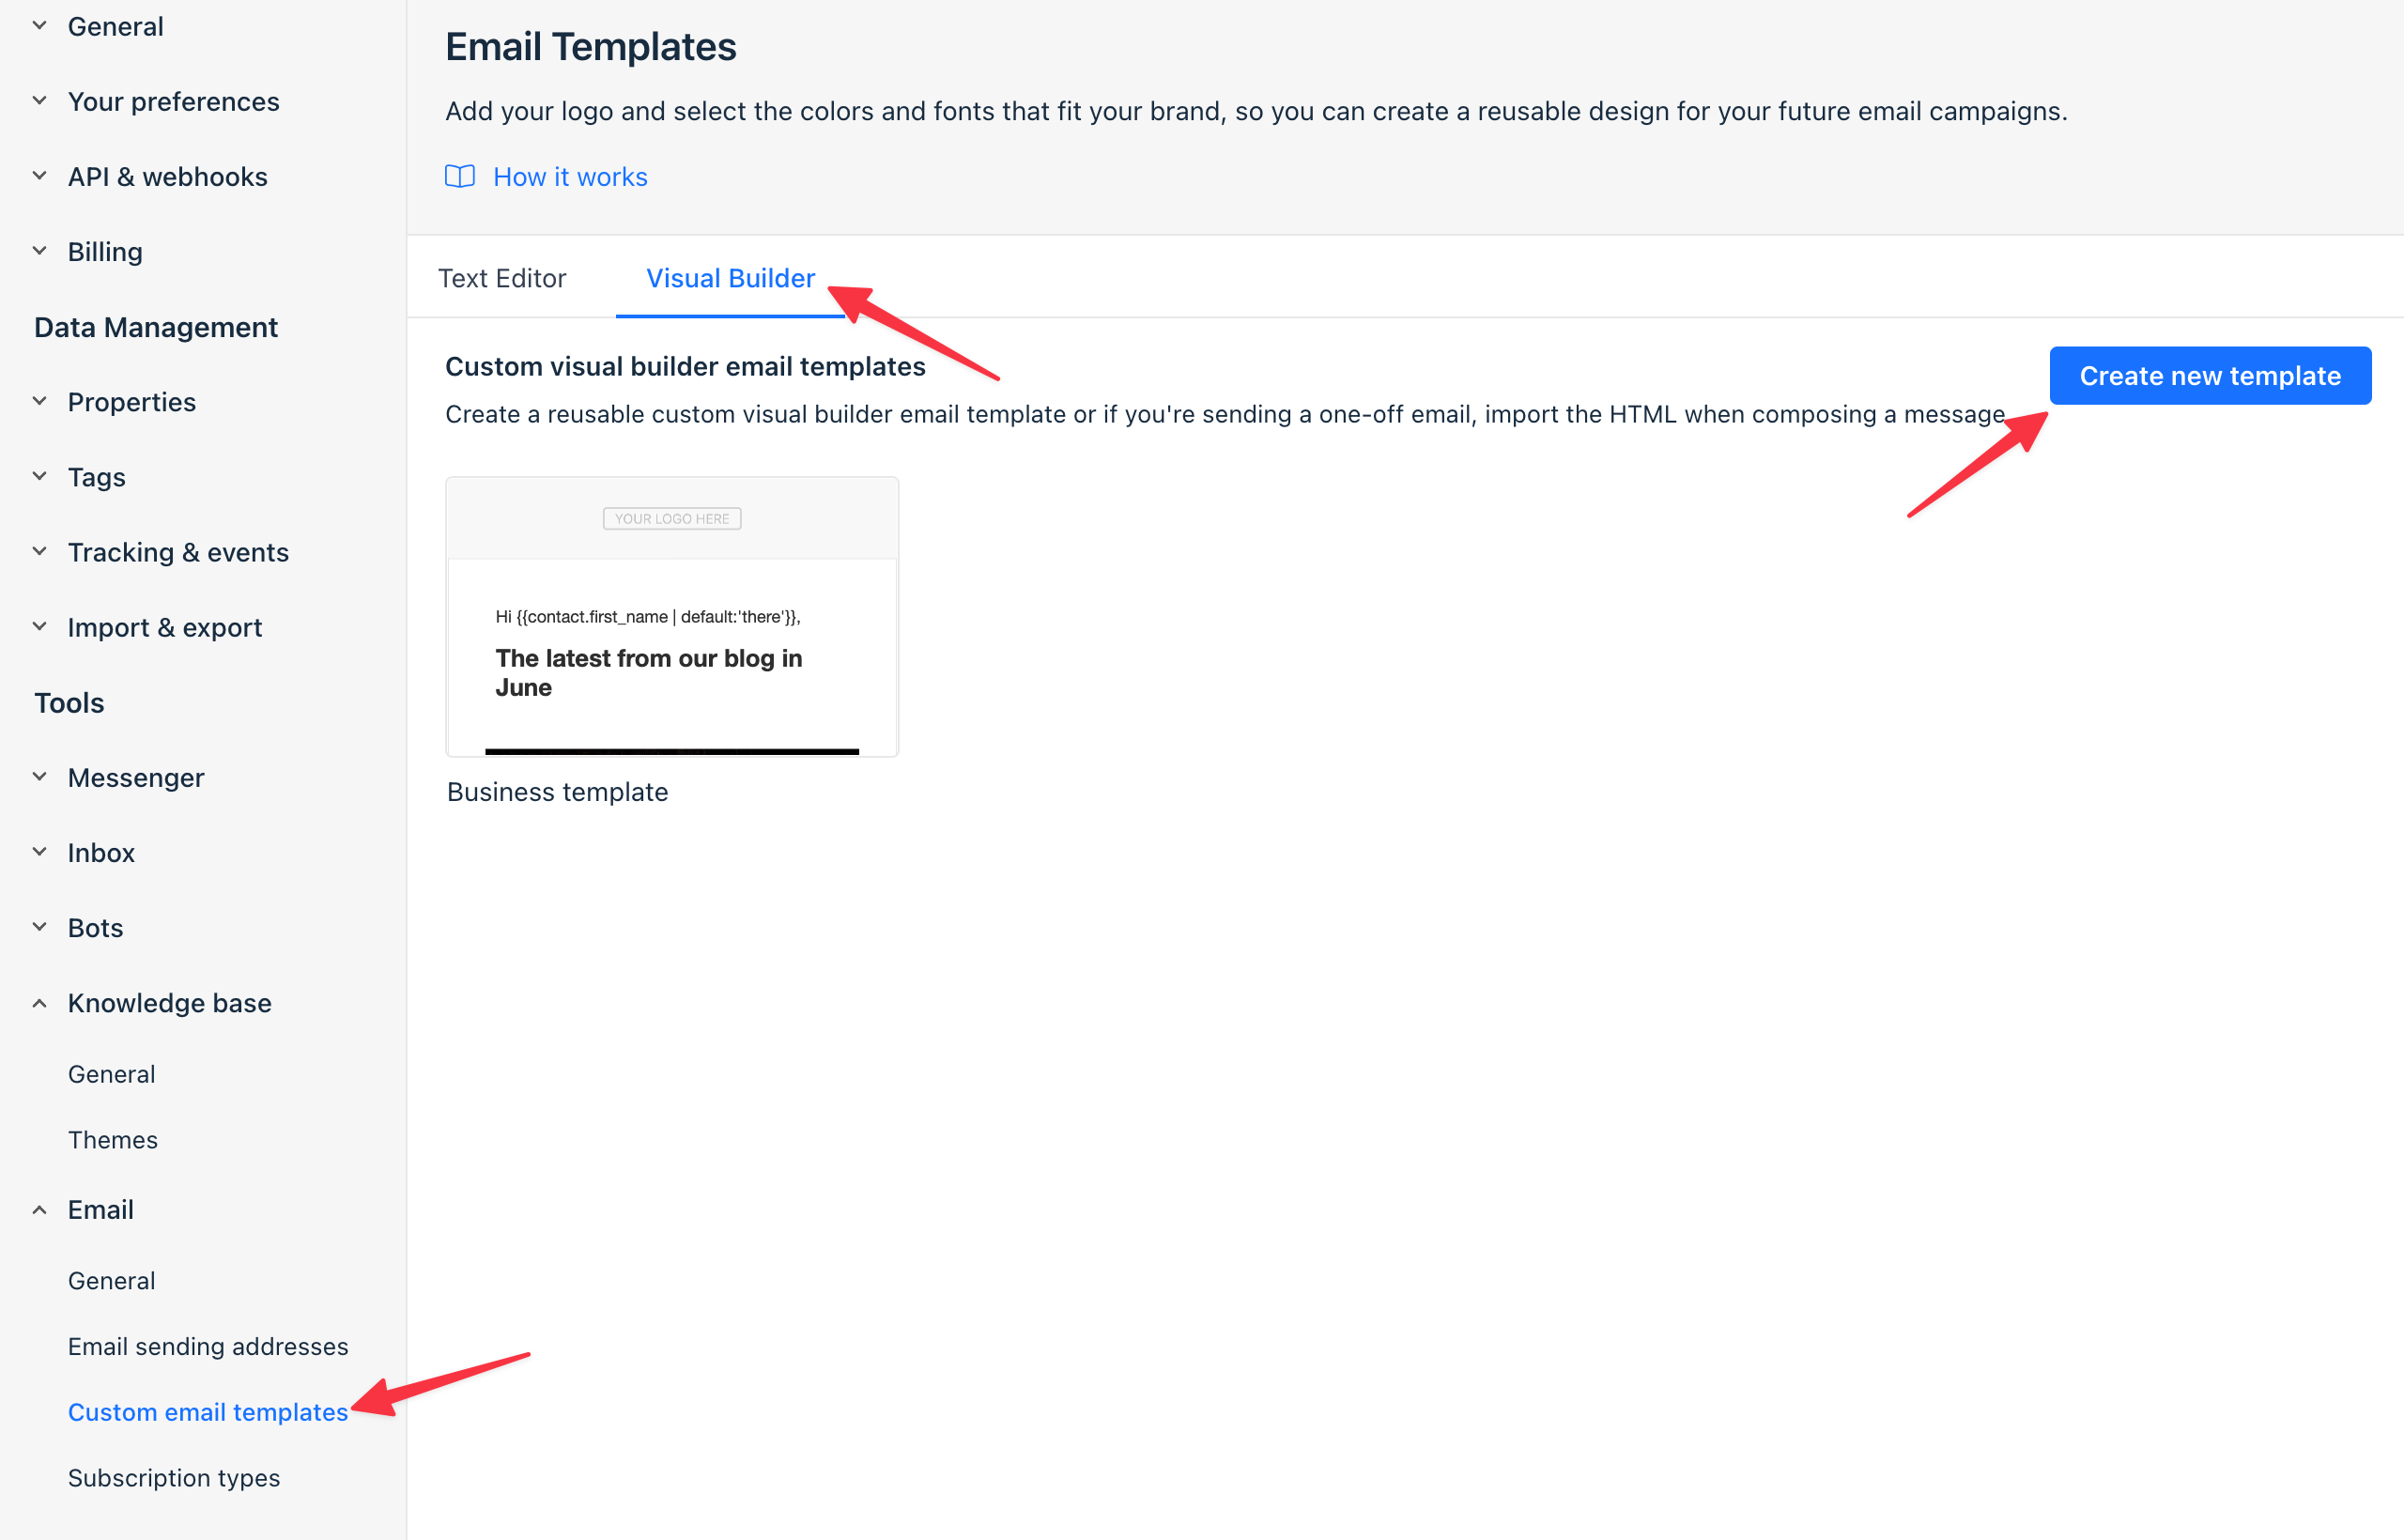
1. To create a new template, go to Settings > Email > Custom email templates page.
2. Switch to the Visual builder tab.
3. Click on Create new template button. This opens the drag-and-drop editor.
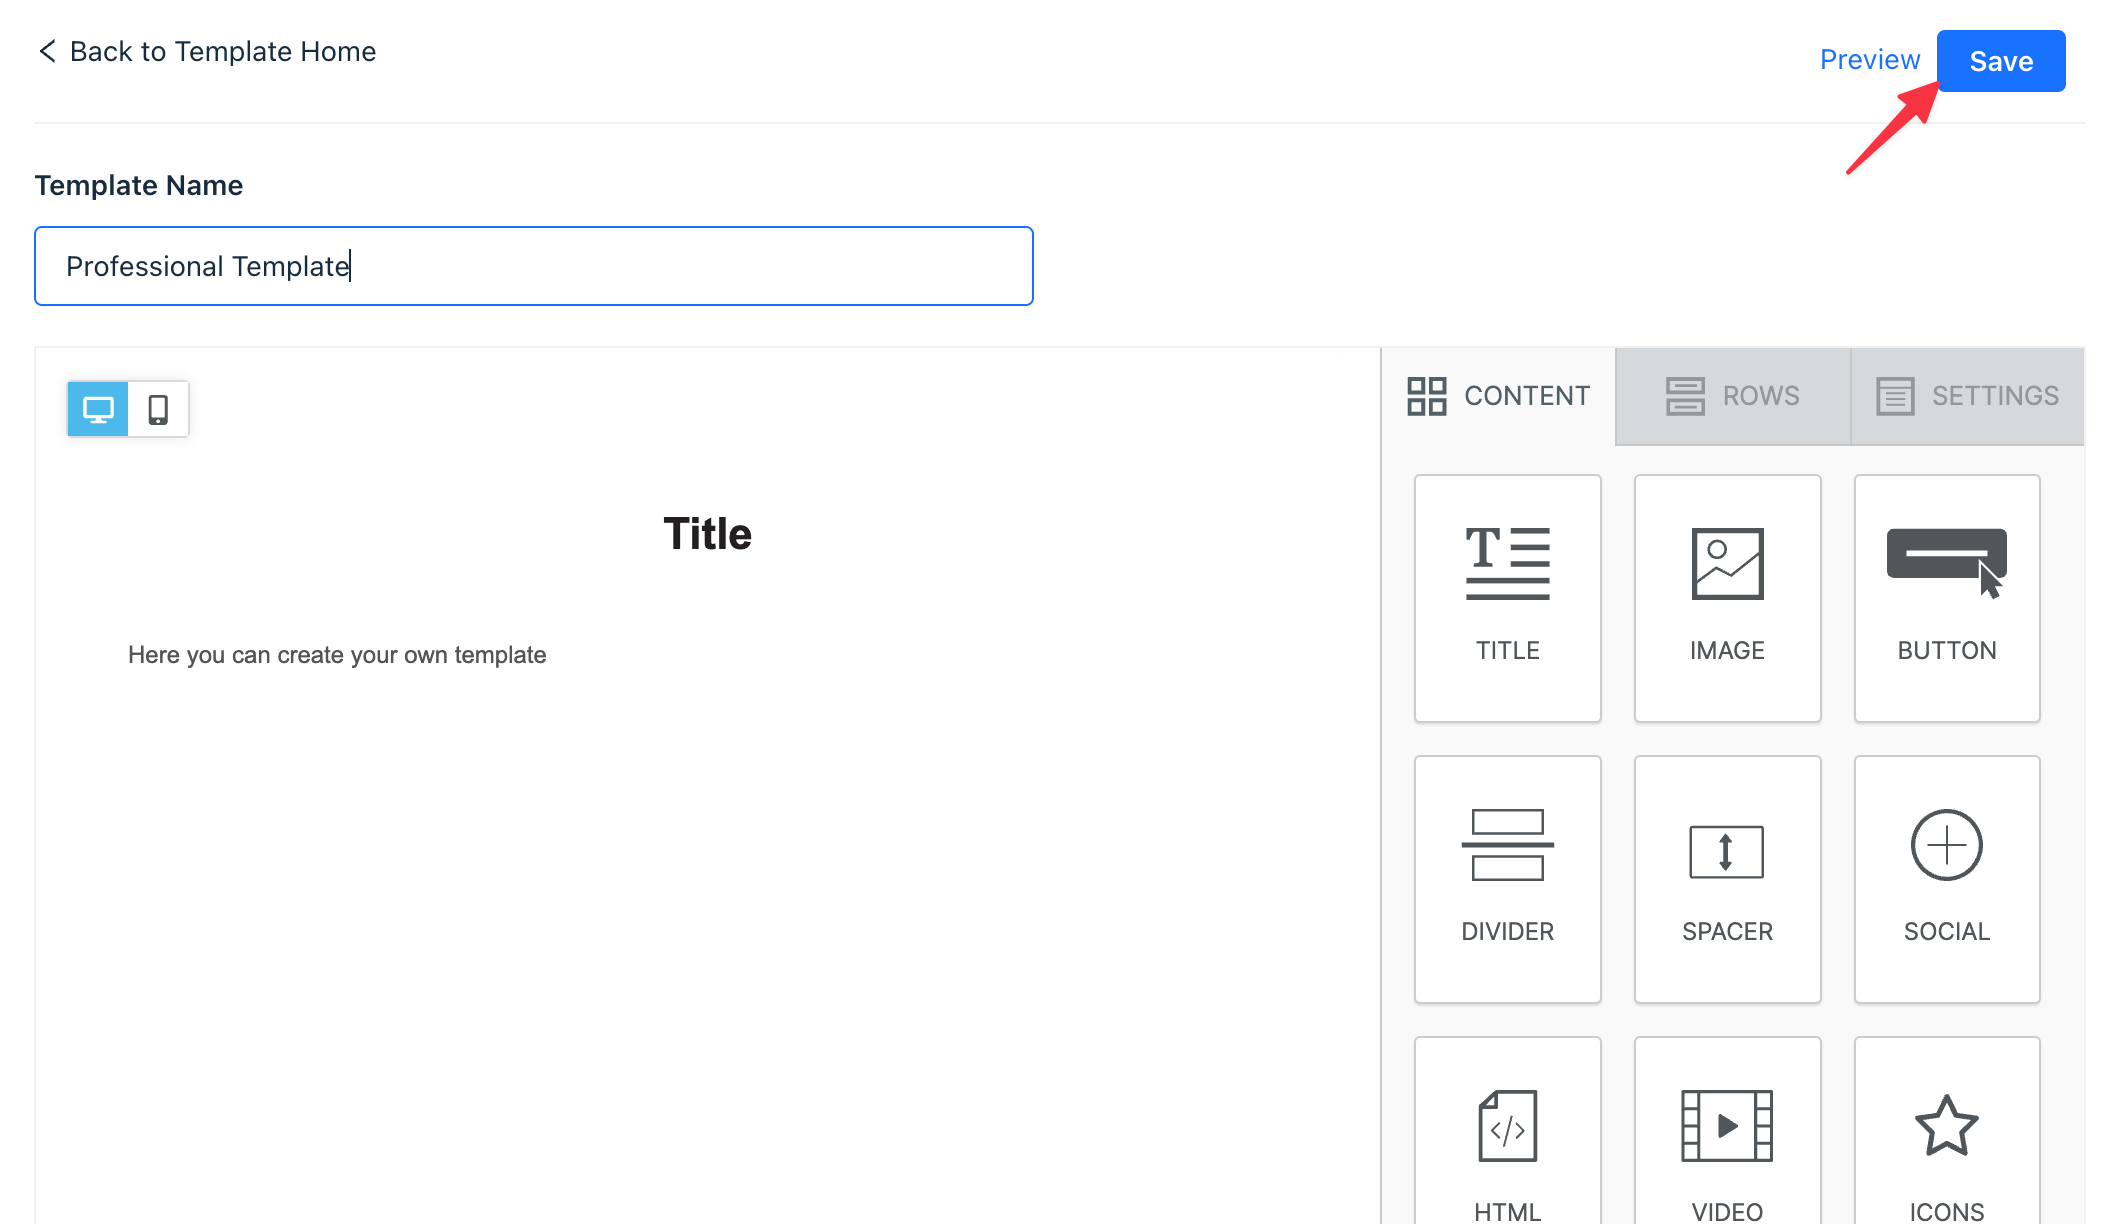
4. Design your email in the editor according to your branding and content requirements.
5. Once your design is complete, name your template and click 'Save'. Your new template will now be saved for future use.
Using your saved templates
After saving an email as a template, whether from an existing email or created from scratch, it will appear in the 'Custom Templates' section.
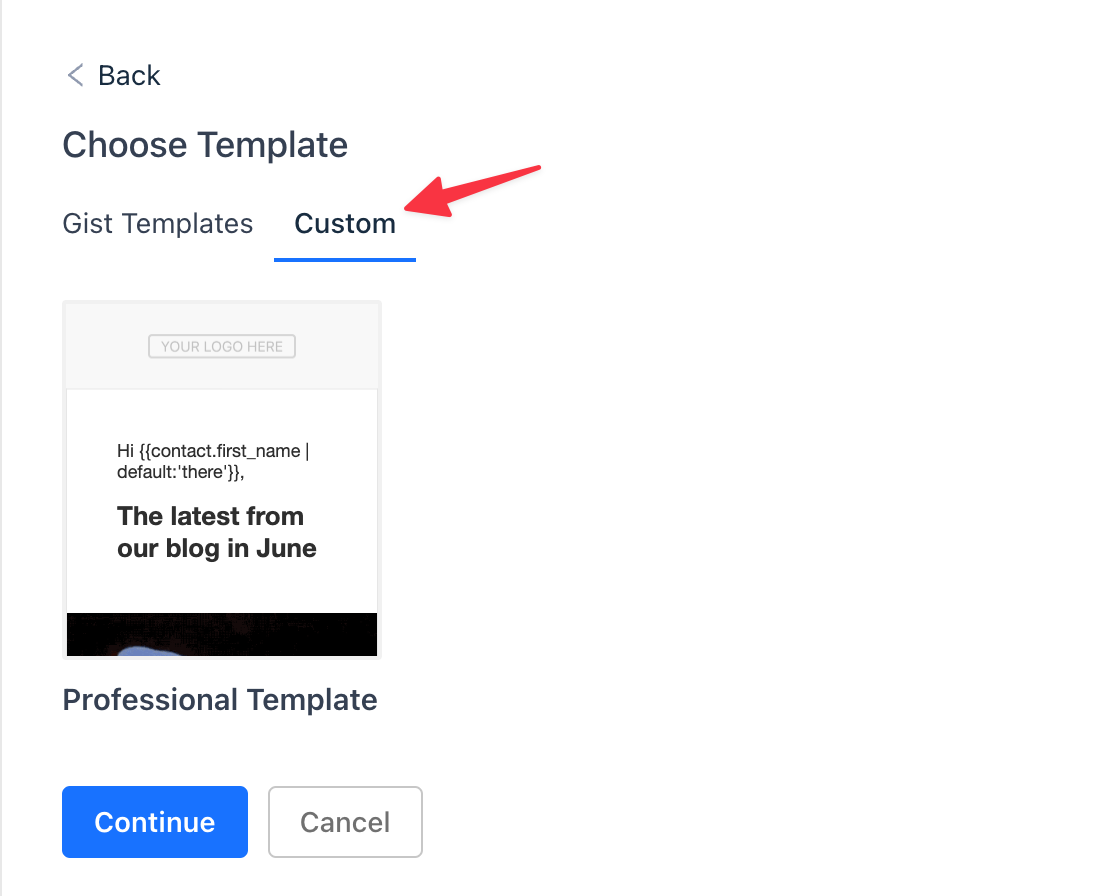
This makes it readily available for selection when creating new emails, saving time and maintaining consistency in your email marketing campaigns.