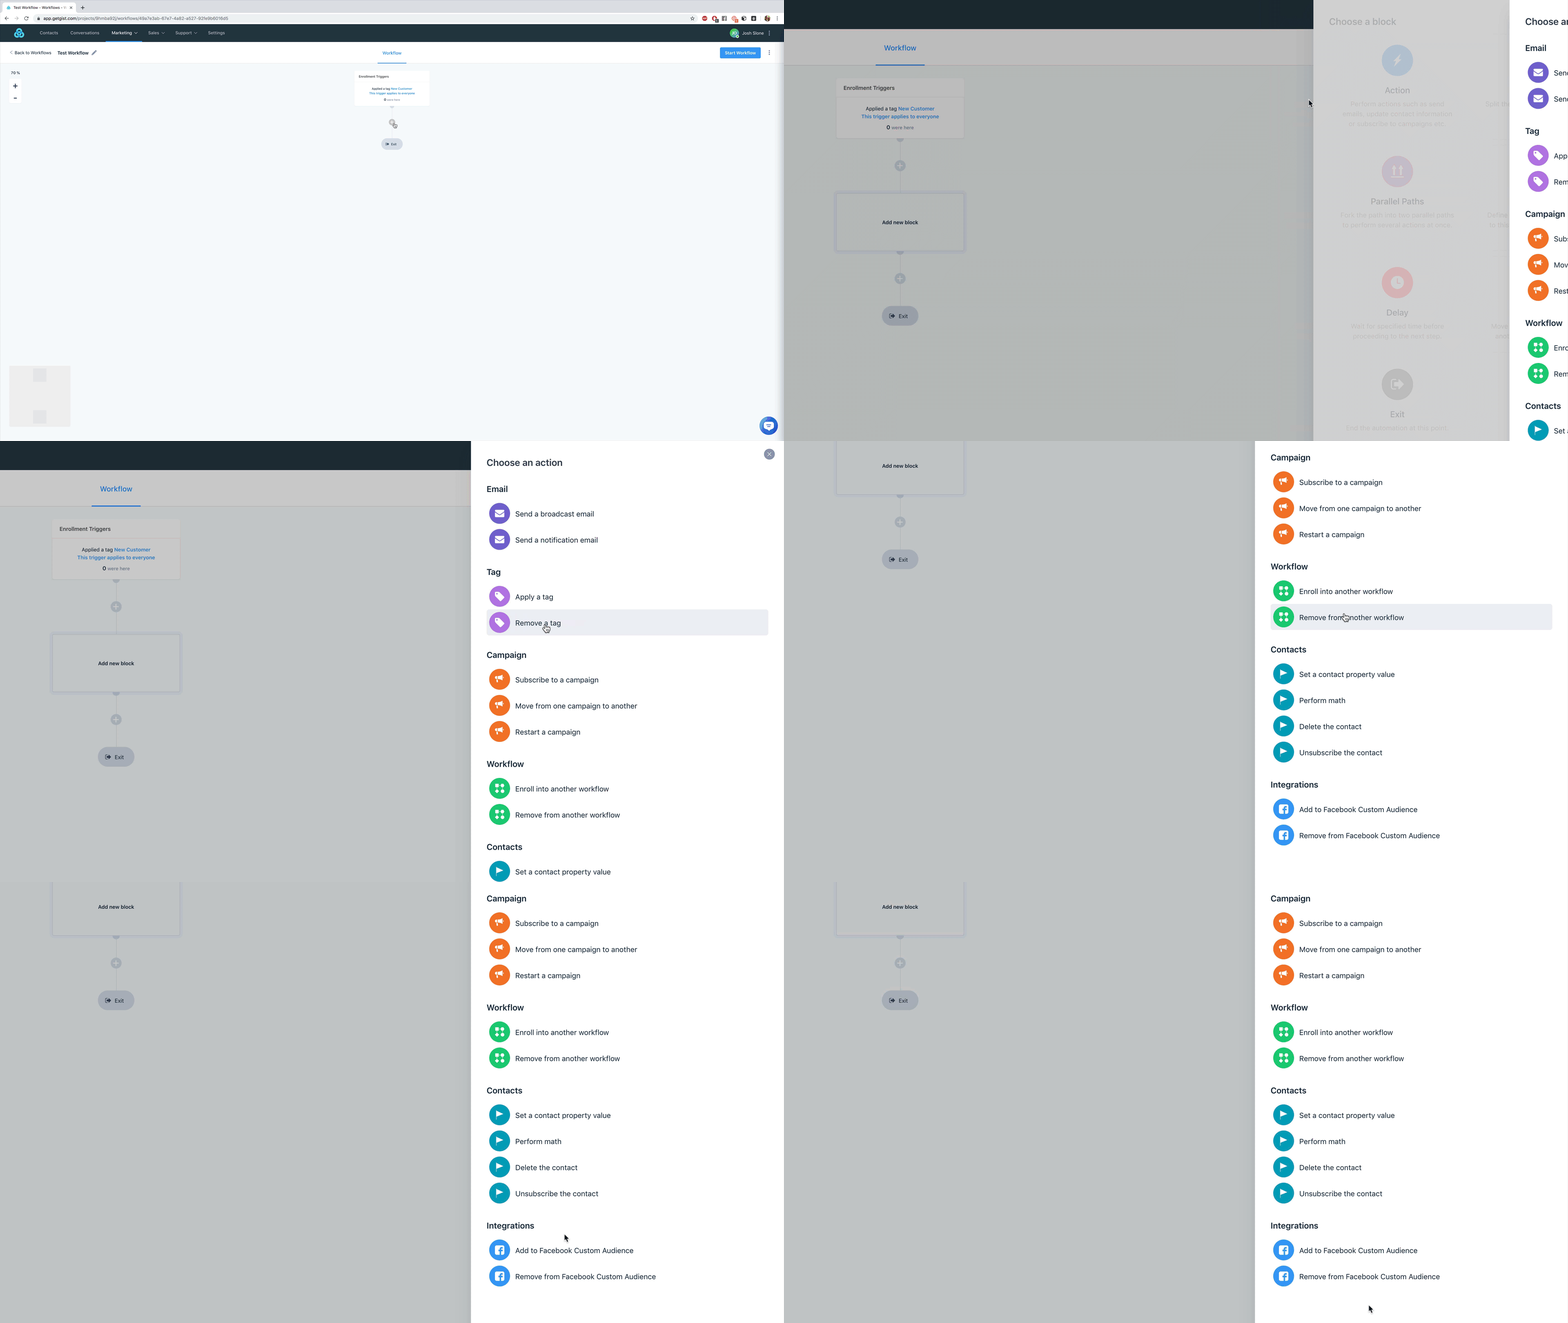
Once an individual has "triggered" the workflow, you'll want to add "Blocks". These are the things that will happen once the workflow begins. There are 7 types of blocks and this article will deal with the most extensive block — Actions.
If you'd like to learn about the other blocks, you can click here. In order to find out more about creating a workflow and setting up an enrollment trigger, you can find that here. And to see a full-length webinar explaining workflows, that's right here.
Here is a gif highlighting all of the Actions that can be used in a Workflow:

Here are a list of all actions that can take along with a brief description of each.
| Send an email | Send a one-off email to the contact. |
| Send an internal email | Send a notification to yourself or teammates with information about the contact. |
| Apply a tag | Apply a specific tag to the contact. |
| Remove a tag | Remove a specific tag from the contact. |
| Send a campaign | Send a particular campaign to the contact. They will stay in this step until they receive all campaign emails or meet the exit conditions for the campaign. |
| Remove from a campaign | Remove the contact from a particular campaign. |
| Move from one campaign to another | Move the contact from one campaign to another campaign. |
| Restart a campaign | Restart the contact from the beginning of a particular campaign. |
| Enroll into a workflow | Add the contact to a workflow. |
| Remove from a workflow | Remove the contact from a workflow. |
| Set a contact property value | Set a property value for the contact. |
| Perform math | Perform basic math calculations to add, subtract, multiply or divide numeric values and adjust contact property values. Use this to calculate the number of appointments or interactions a customer has or calculate a running total. |
| Delete the contact | Delete the contact (and all their data) from your workspace. |
| Unsubscribe the contact | Unsubscribe the contact from a particular campaign or from all emails. |
| Trigger a webhook | Post a JSON of the contact data to a URL. |
| Add to Facebook Custom Audience | Add contact to a Facebook custom audience. |
| Remove from Facebook Custom Audience | Remove contact from a Facebook custom audience. |
Potential Use Cases
- Lead Nurturing: Perhaps the trigger is that an individual has submitted a form and became a subscriber in the process. This enters them into a workflow which will "Subscribe to a campaign" for new subscribers. Once that is finished, you can "Apply a tag" highlighting that they've went through the new subscriber campaign and then "Move from campaign to another". This series of steps would be 3 different actions in a single workflow.
- Lead Scoring: Apply tags and perform math in order to give your sales reps a detailed view of your leads. Once leads reach a certain score, or are given certain tags, a notification email may be sent to a representative to reach out to the particular lead.
- In Conjunction with Other Blocks: Once your workflow performs an action, like "Send a broadcast email", you can use other blocks to supercharge your automation. For instance, if the email has a link inside, you can create a "Decision" to show whether or not the recipients of the email clicked on the link inside.
Note: For more information on webhooks, please check our developer docs: https://developers.getgist.com/#validation-of-webhooks-events
In order to see how other "Blocks" operate, you can view the knowledge base article here.


