

NOTE: This feature is for only some paid plans and may not be currently enabled in your workspace.
Tours enable you to create a custom in-product experience using a sequence of Steps. Use Tours to explain a workflow or announce a new feature while helping your users accomplish key actions.
With Product Tours, you can:
- Onboard new customers with multi-page tours that require no code to set up.
- Automatically show tours to a target audience on a specific page, like paid customers who visit a new feature.
- Proactively guide customers by sharing tours in conversations, messages, and bots.
- Re-engage inactive customers by sharing tours as links in emails, or engage customers by linking to a tour inside your product.
- Create a more personal tour by using video pointers to guide customers.
Create a tour
To create your tour, follow these steps:
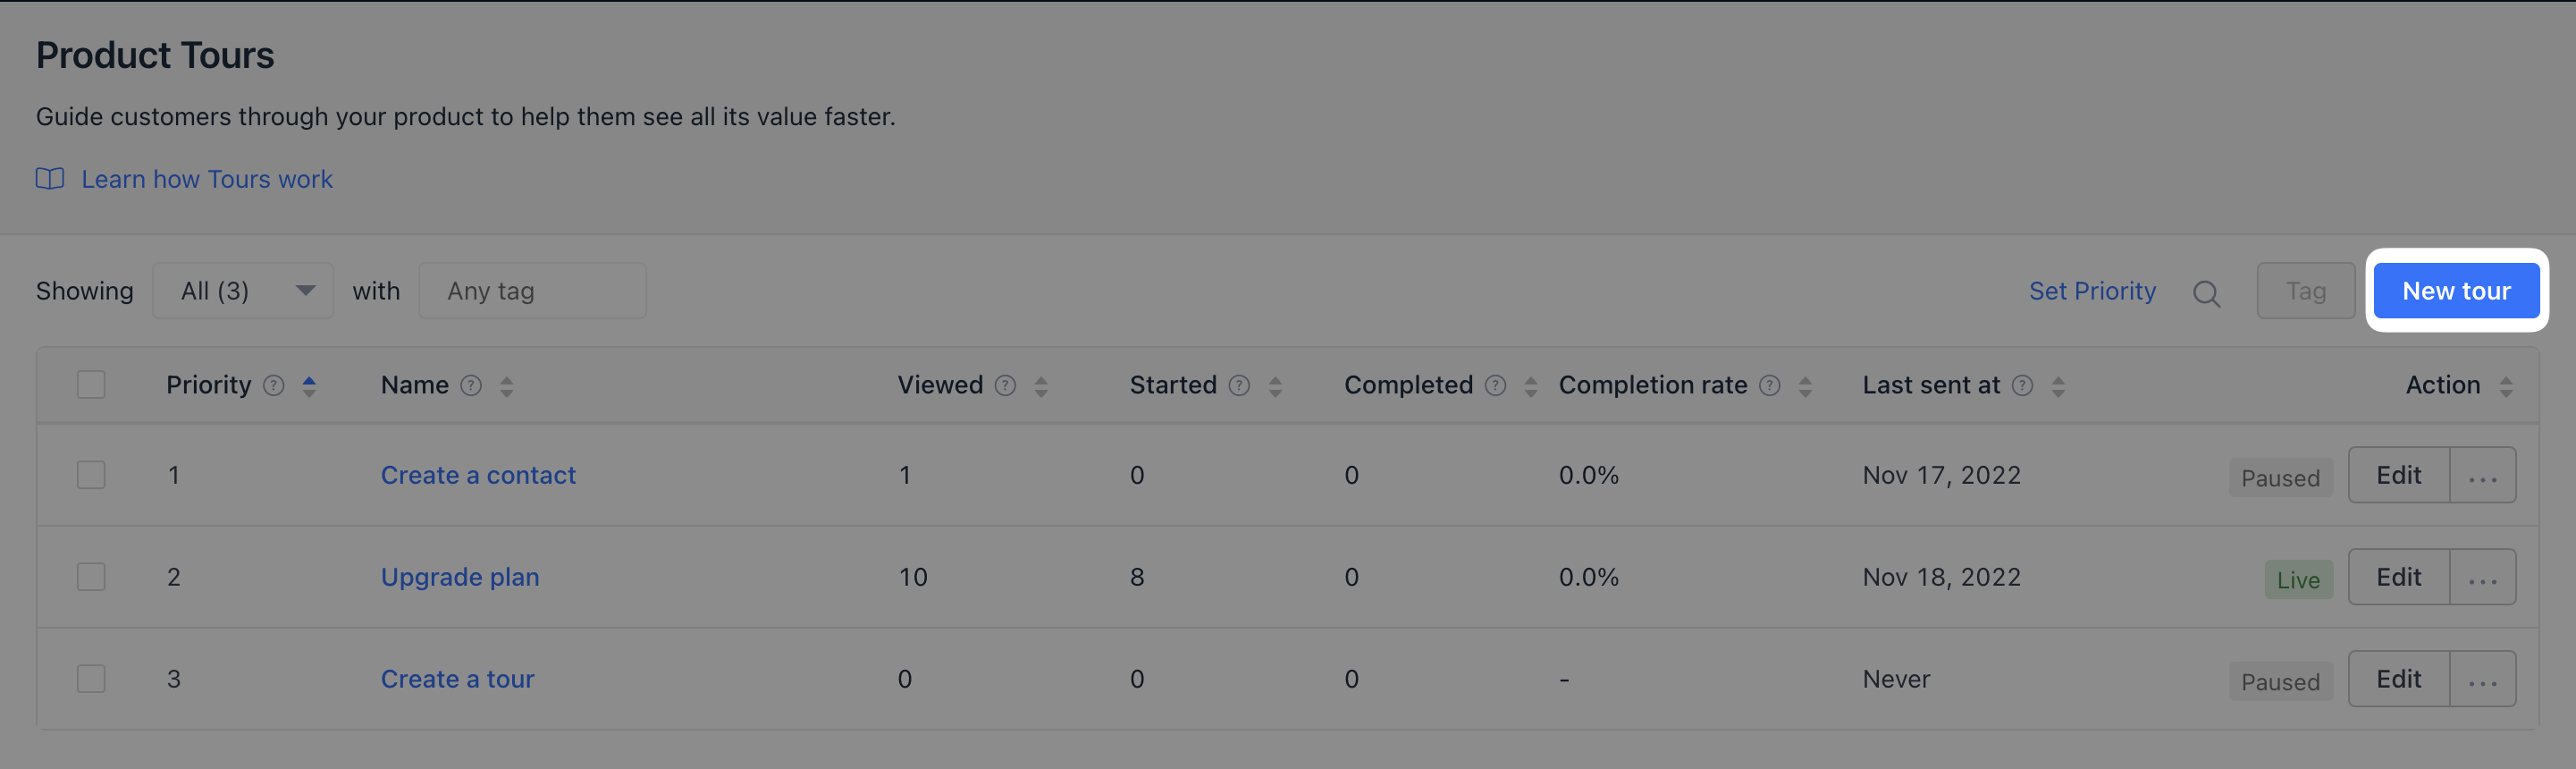
1. In your Gist workspace, navigate to Outbound > Tours.
2. To create a new tour, click Create tour in the upper right and give your tour a unique name.
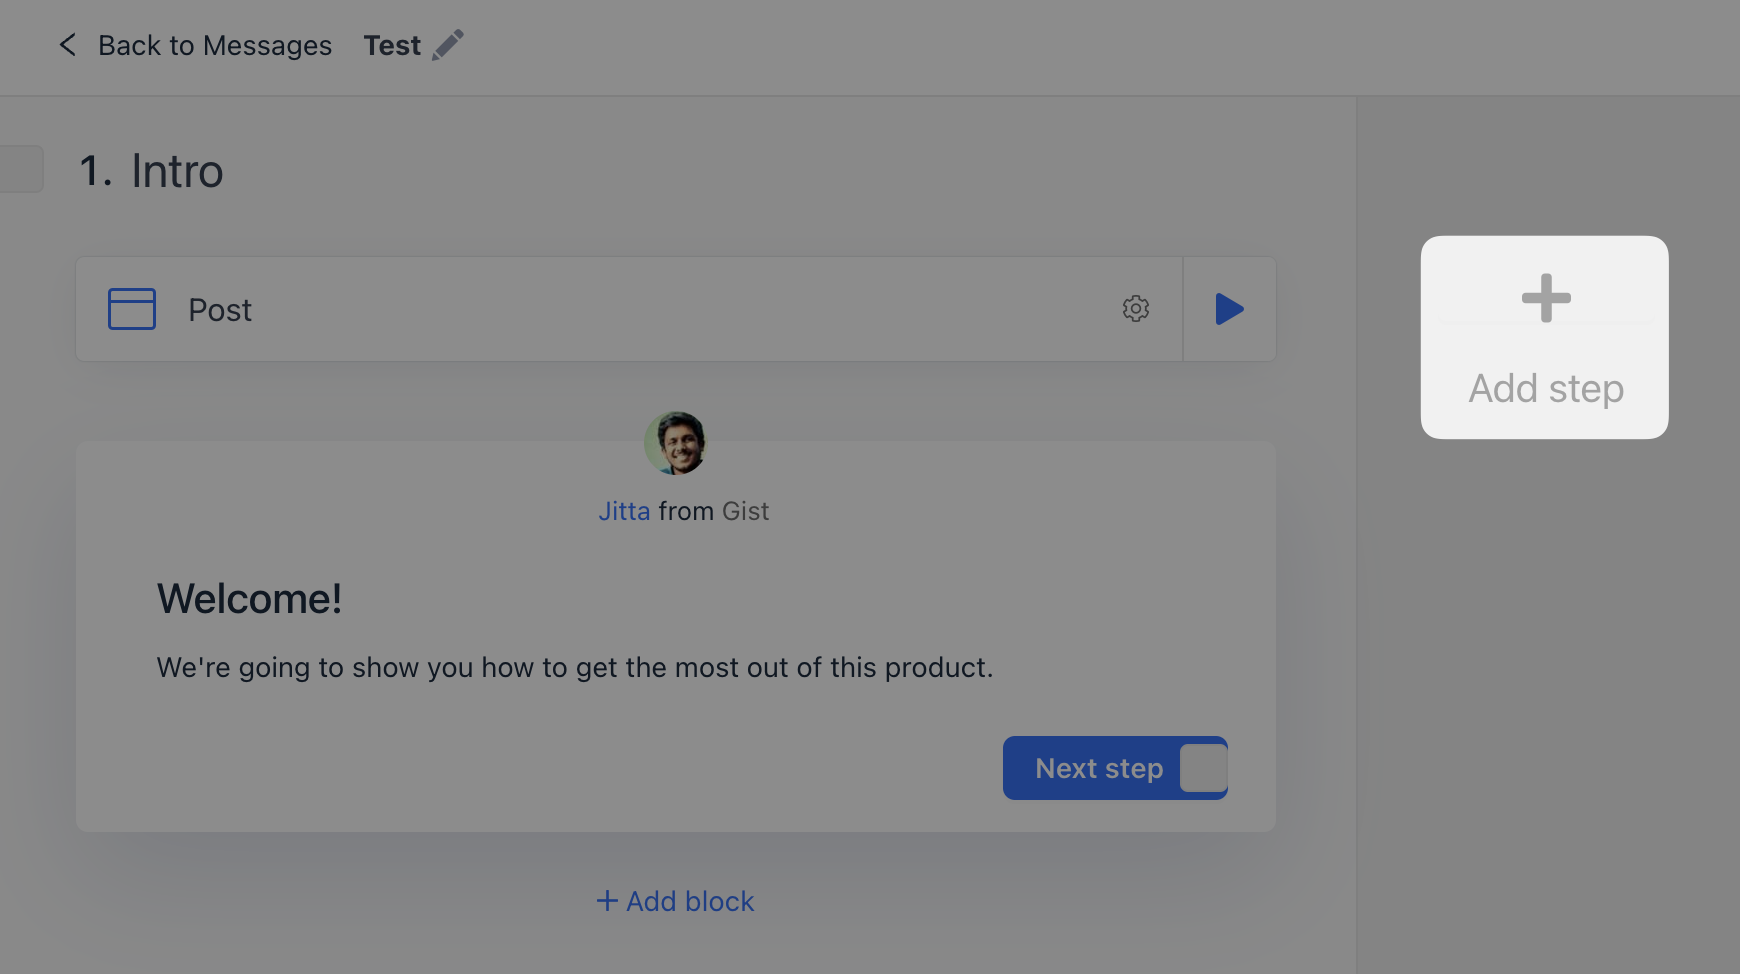
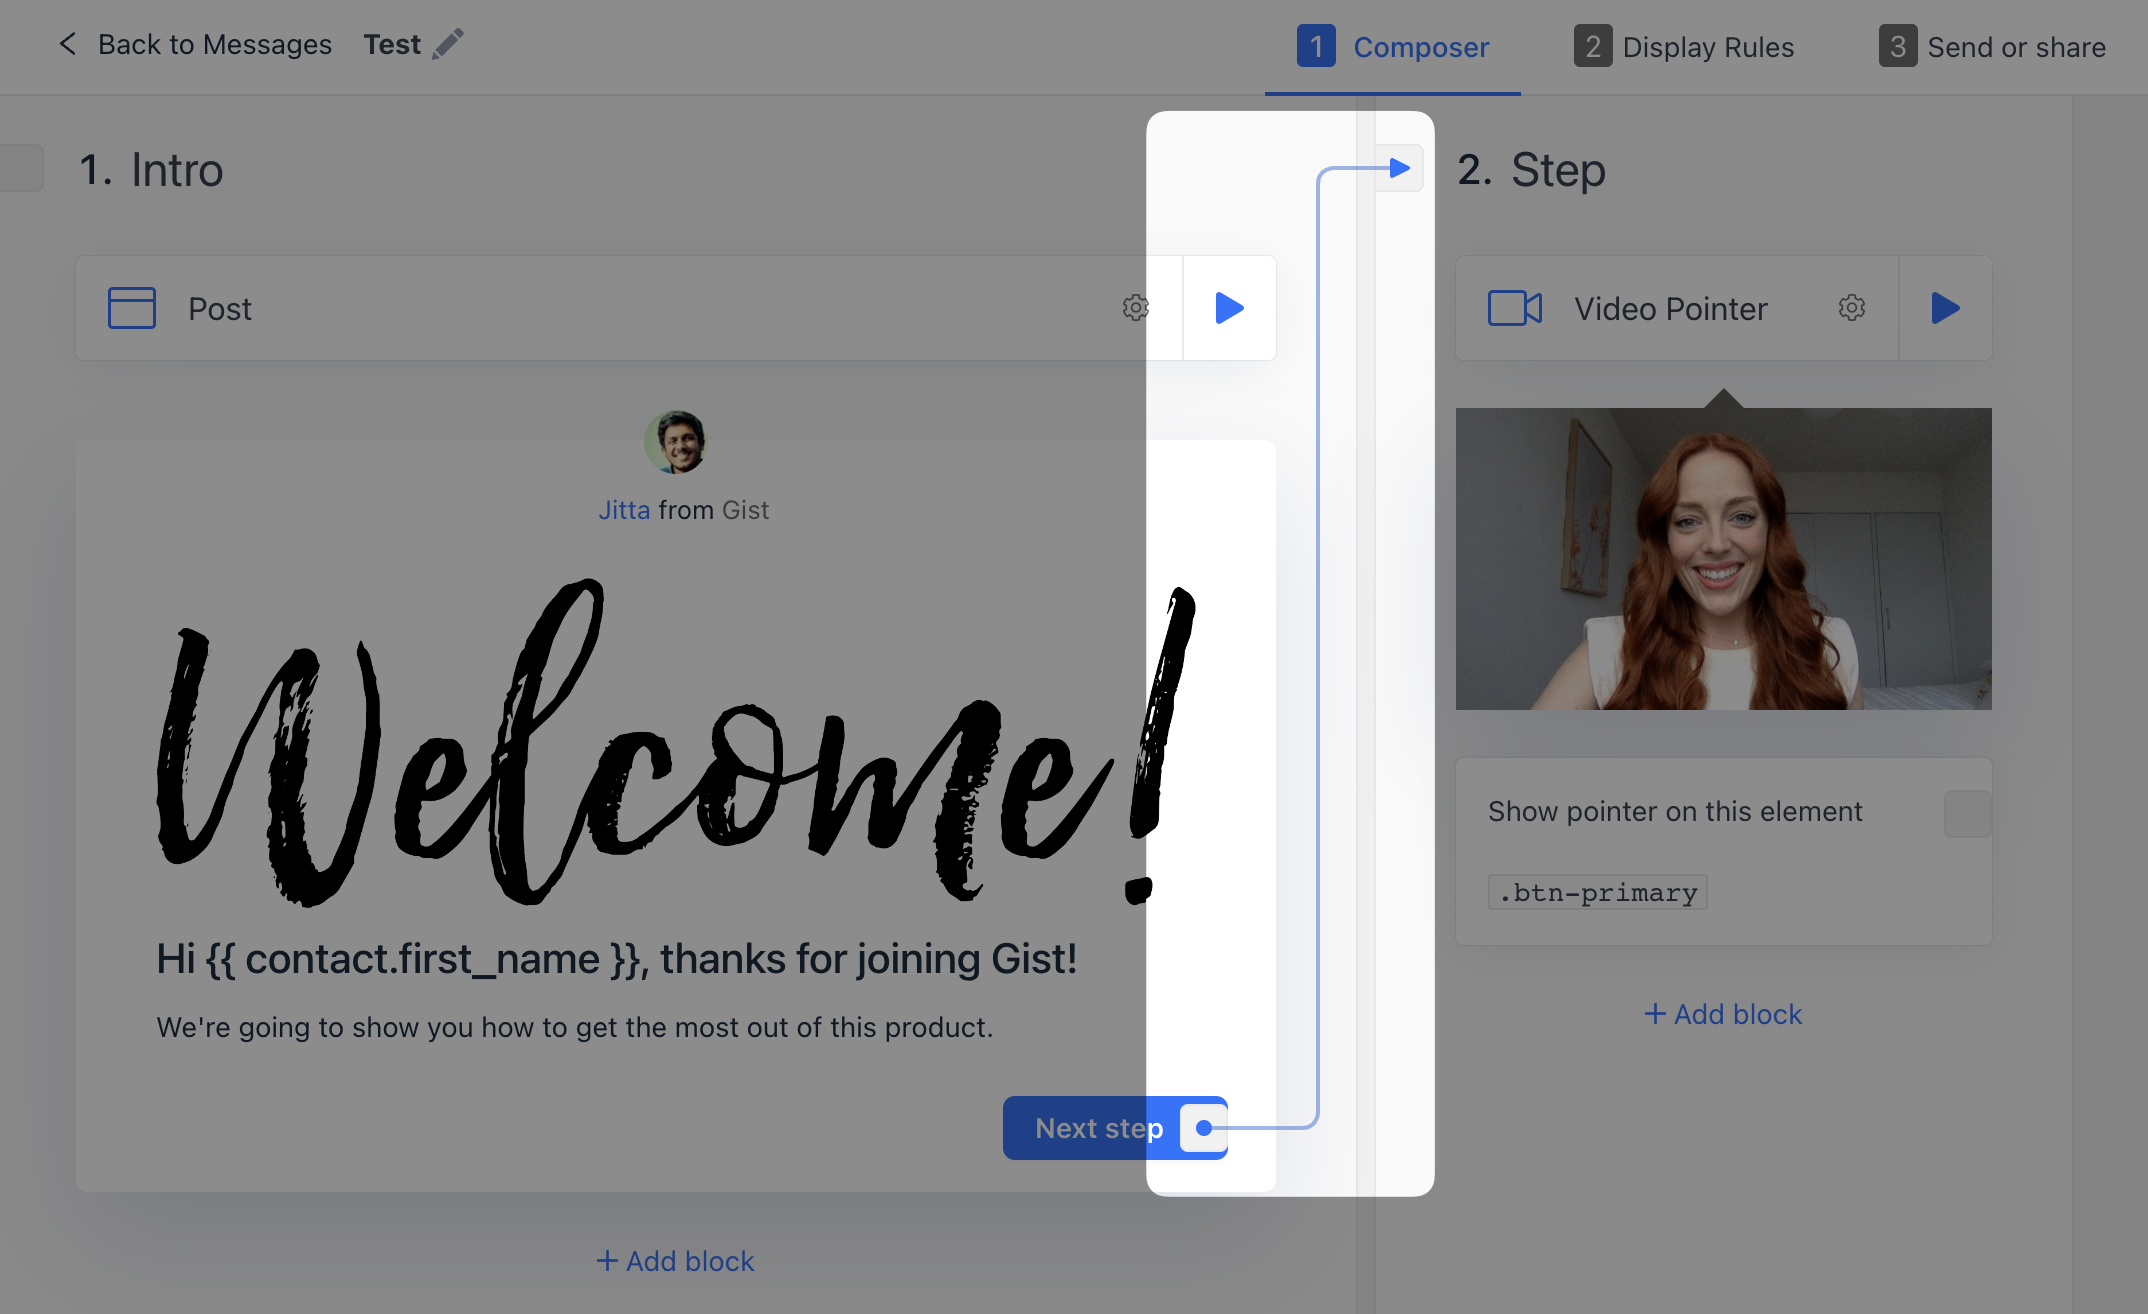
Now you'll be able to access the tour builder, where you'll customize your tour. By default, there's a Post step with a Next step button to get started with, which you can edit or remove as you see fit.
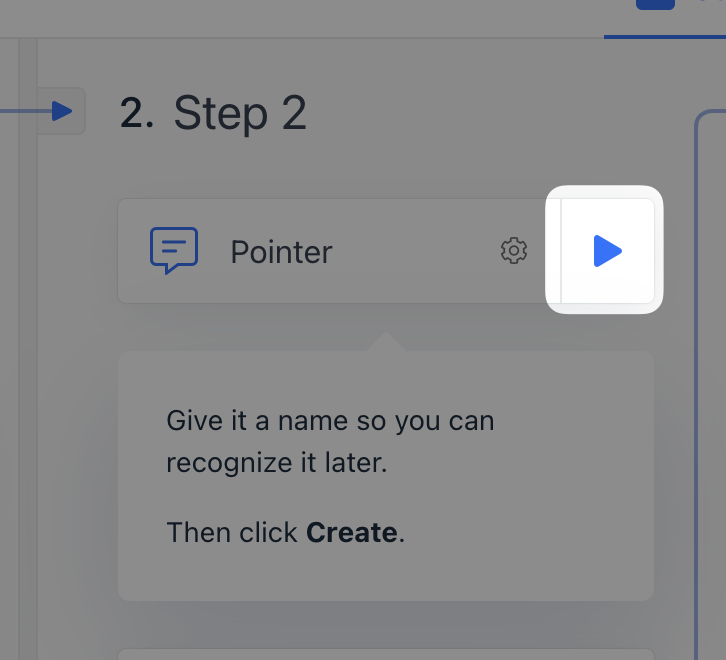
You can add more steps such as a sequence of posts, pointers and video pointers to guide customers.
3. Start by clicking the Add step button:
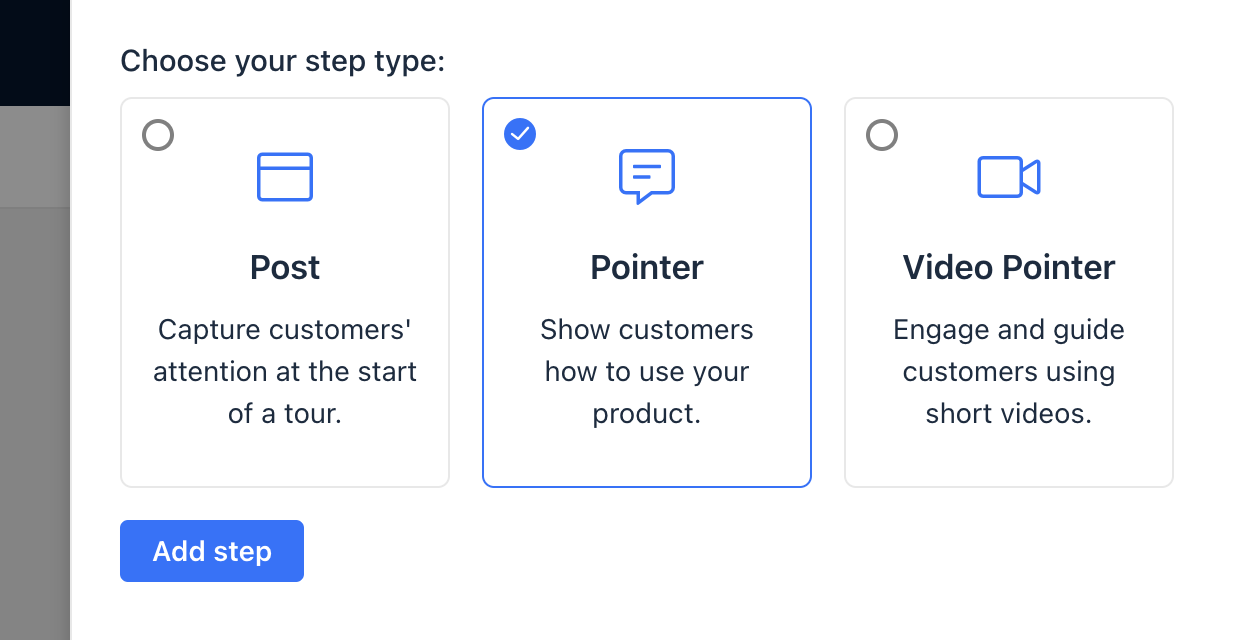
Learn more about how each of these types of steps work.
4. Add text to the step, insert an image, add emojis, embed video and add personalization tags to make your pointers more engaging.
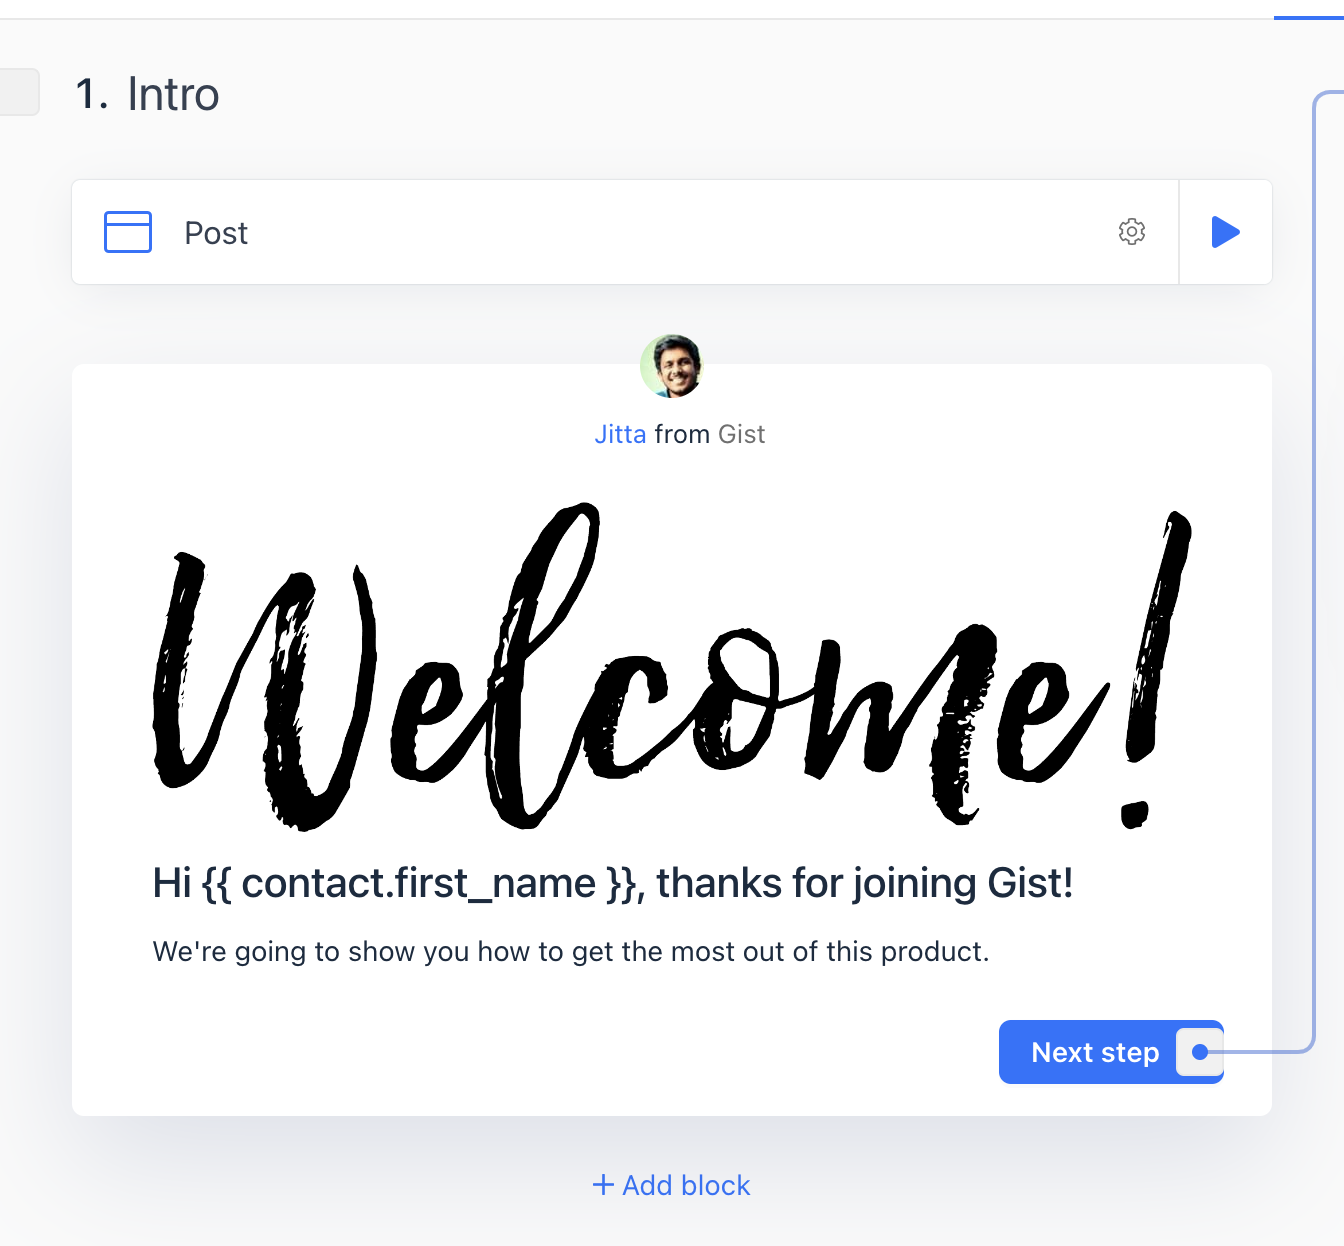
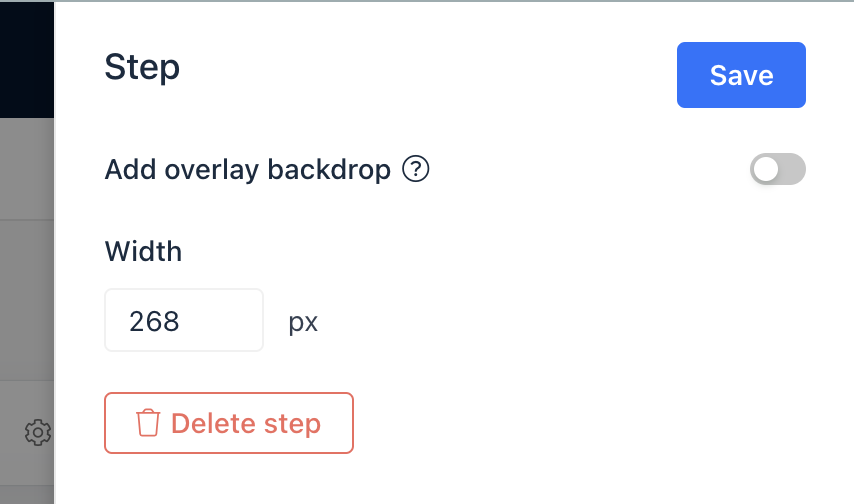
You can customize the step width and choose whether to dim the background to highlight the pointer from the step settings.
4. Once you add a new step, you can connect one step to another using either a connector or using a trigger.
Learn more about how triggers work.
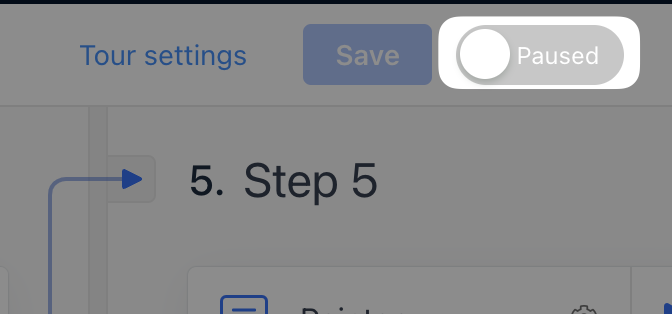
5. Once you’ve finished creating your tour, click Preview to test your tour in action.
You can preview any of the steps at any time when designing your tour, even when the tour is not live.
6. Once you set your tour live, customers can easily advance through your tour and really get to know your product.
Some ideas for tours
Now that you have your basic onboarding setup, you can start exploring some of the more advanced features of tours.
- Add custom icons/buttons that can launch tours.
- Setup tours that appear x days after signing up if you have not yet done something in your app.
- Use Posts to announce and highlight new features.
- Setup tours for different contact segment based on user types, plan and feature restrictions.
- Ask about use case using a survey question when someone signs up, which you can then use to decide which tour to show.
Need Help?
If you have any questions, please start a Live Chat. Just "Click" on the Chat Icon in the lower right corner to talk with our support team.