

The Jira for Gist app helps your support and engineering teams work together to resolve customer-reported by keeping your conversations and Jira issues automatically in sync.
It only takes a few clicks to get set up, and then you’ll be able to quickly find and attach Jira issues to conversations from your Inbox directly for easy reference.
How to integrate
Before you start with the installation, it may be helpful to get a quick overview of what exactly you are installing and how the different components fit together.
The Jira integration comes with two separate apps. One that you install in your Gist workspace and the other in your Jira cloud. Both these apps communicate with each other to make the integration work.
1. Jira for Gist app - allows your Gist teammates to create and link Jira issues directly from your Gist Inbox.
2. Gist for Jira app - allows your Jira teammates to see the linked Gist conversations in your Jira Cloud.
Here's how you can setup these two apps:
1. Installing Jira for Gist app
You can integrate Jira with Gist simply by clicking through a few short steps.
- First, log into your Gist account
- Navigate to your App & Integrations
- Search for the Jira app and click the Install button
- Jira will open in a new tab and you'll be asked to authorize the application. Authorizing the application will enable Gist to receive webhooks from Jira when a connected issue is updated.
- Click Authorize.
- Once you authorize the application, you'll be redirected back to your Gist workspace.
Now, let's setup Gist for Jira app in your Jira Cloud account.
2. Installing Gist for Jira app
- Log into your Jira instance as an admin.
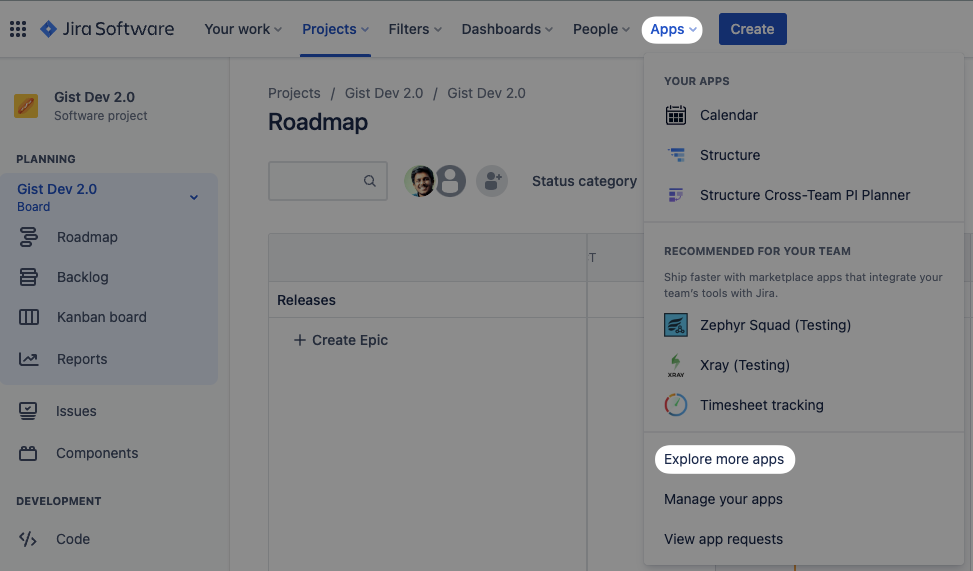
- Click Apps in the main navigation menu and select Explore more apps.
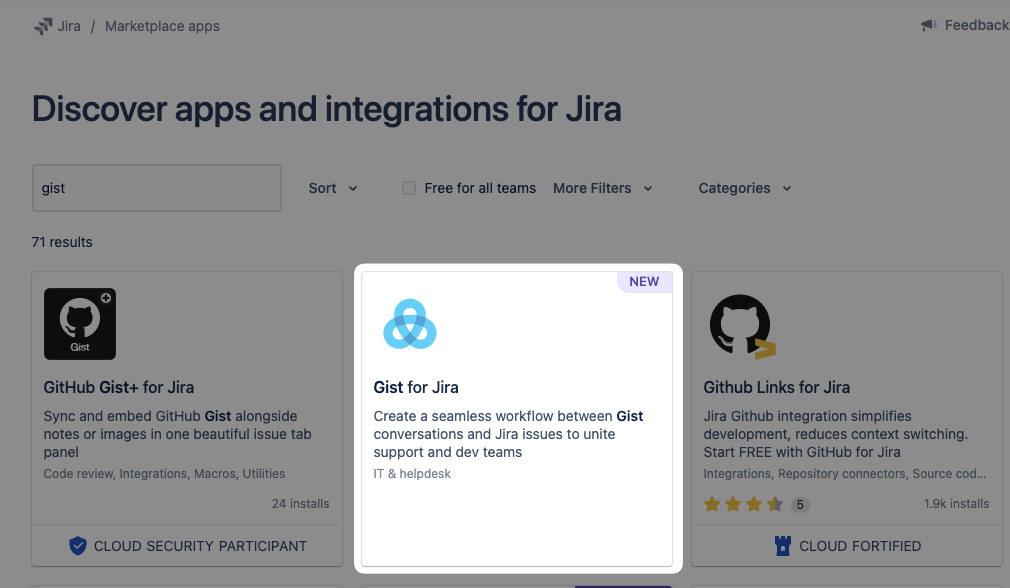
- Search for Gist for Jira app, then click it.
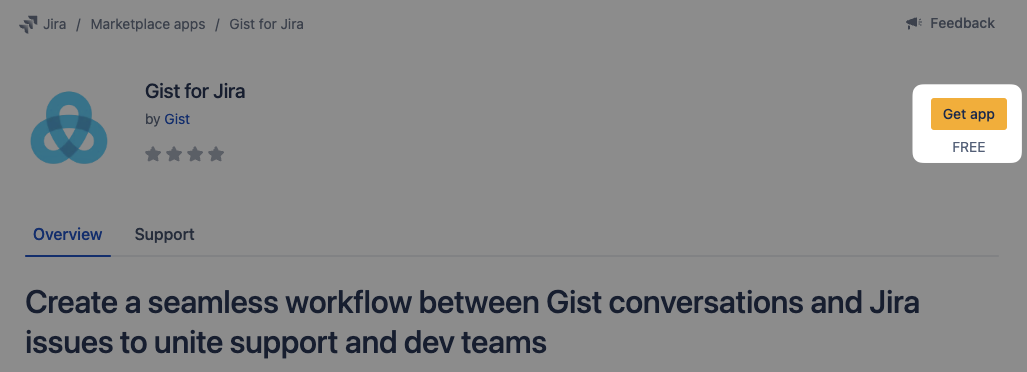
- On the app listing, click Get app.
That's it! You have integrated your Jira Cloud with your Gist workspace.
Note: You need to have admin permissions for both Gist and for the Jira organization you’d like to add.
Create Jira issues
It’s easy to create Jira issues directly from a conversation in Gist.
Just hover over a conversation you’d like to track as a Jira issue, and click on the Jira widget on the right sidebar:
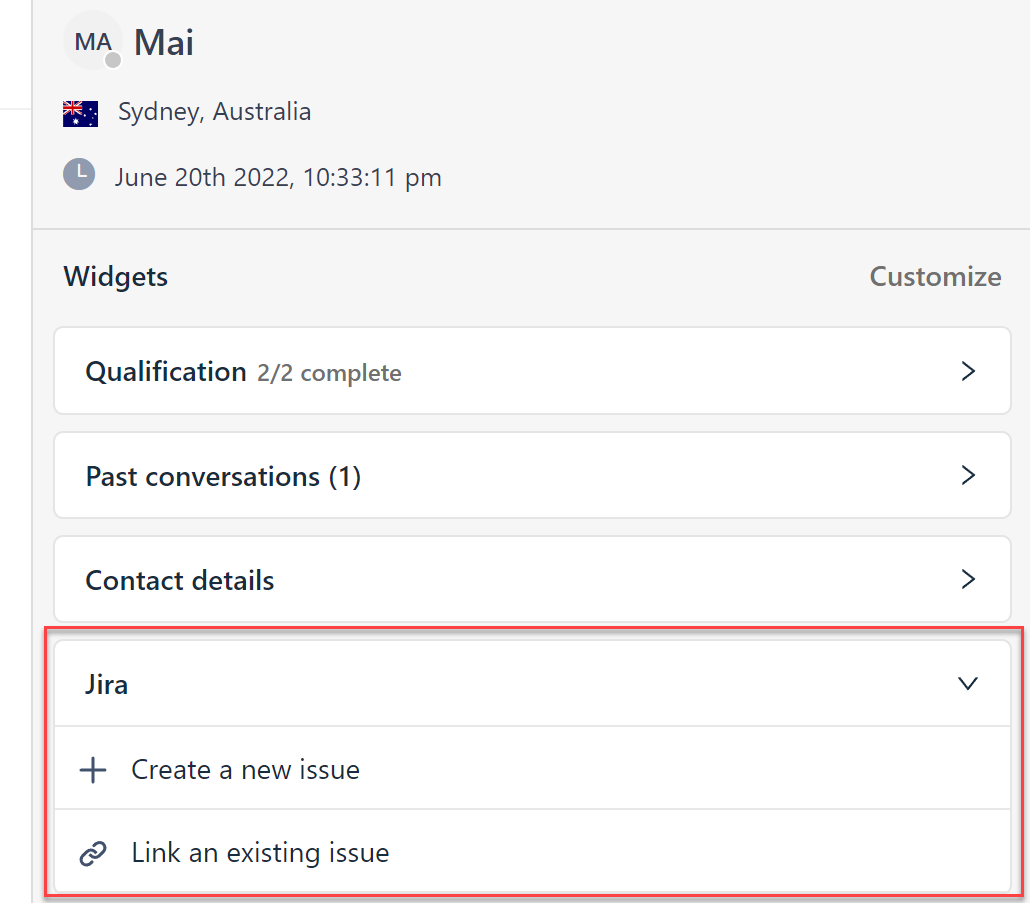
Start by clicking Create a new issue to kick off the process.
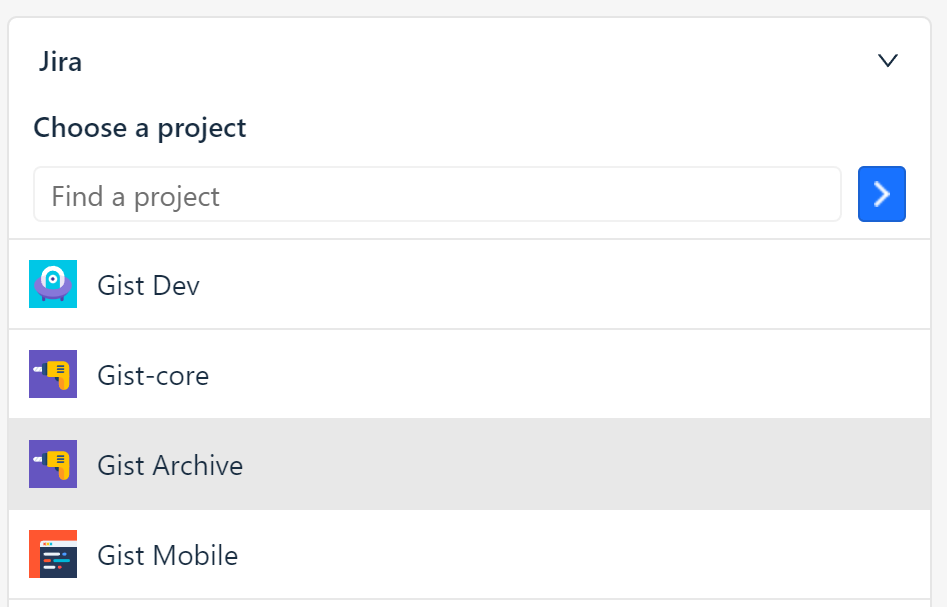
In the first step you have to choose the Jira project for your new issue. You can either search for a project by text or project key, or directly select a project from the list.
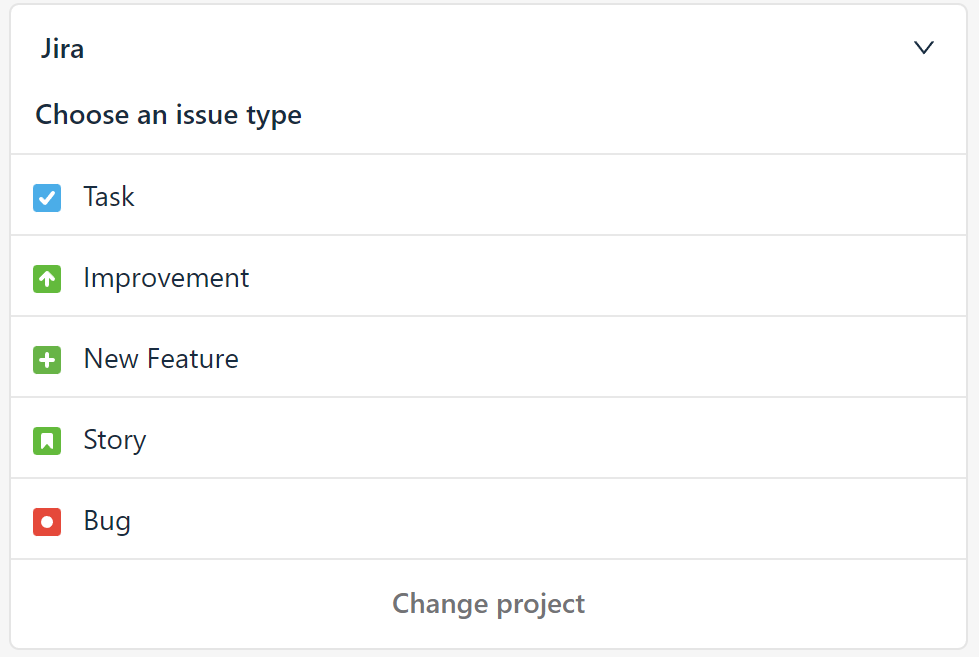
Next Select the issue type for the new issue or click Change project if you want to create the issue on a different project.
In the final step fill in the issue fields and click Create to create the issue.
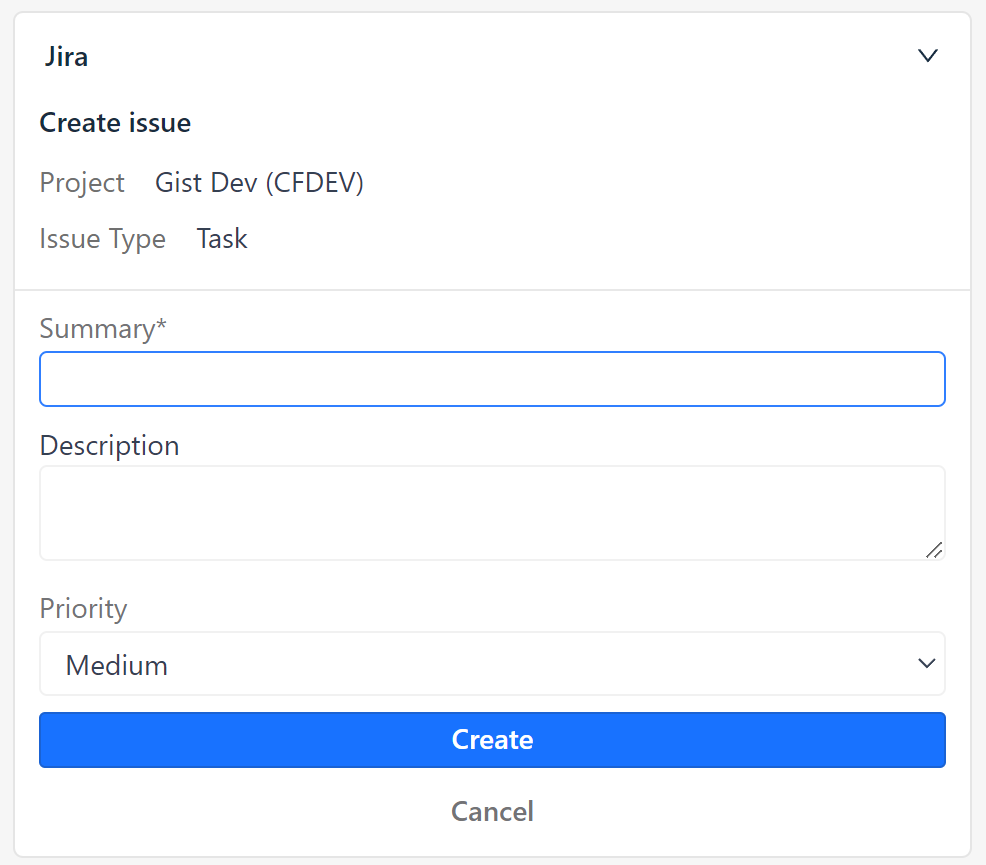
Once the issue has been created, the app will show a message to confirm successful completion of the process. Click Done to return to the app home screen.
The new issue now shows up under linked issues for the selected conversation. The app also has added an internal note to the conversation to record the create event.
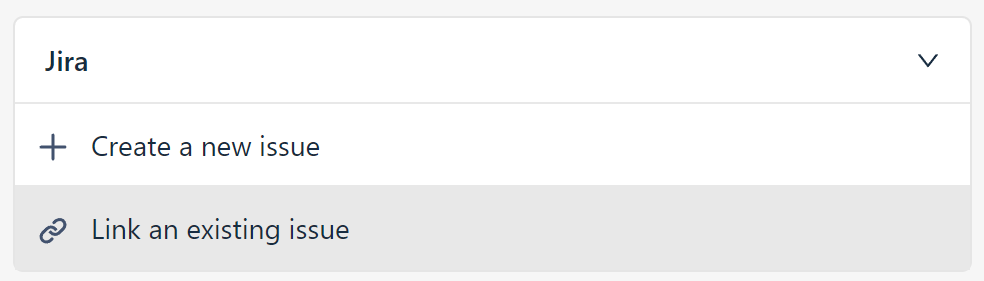
Link existing issues
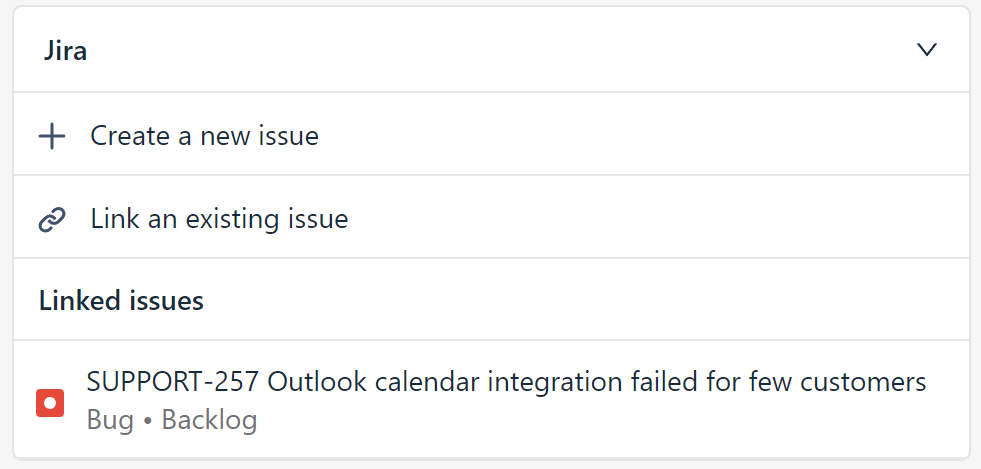
Find the Jira app in the right-side panel and click Link an existing issue to get started.
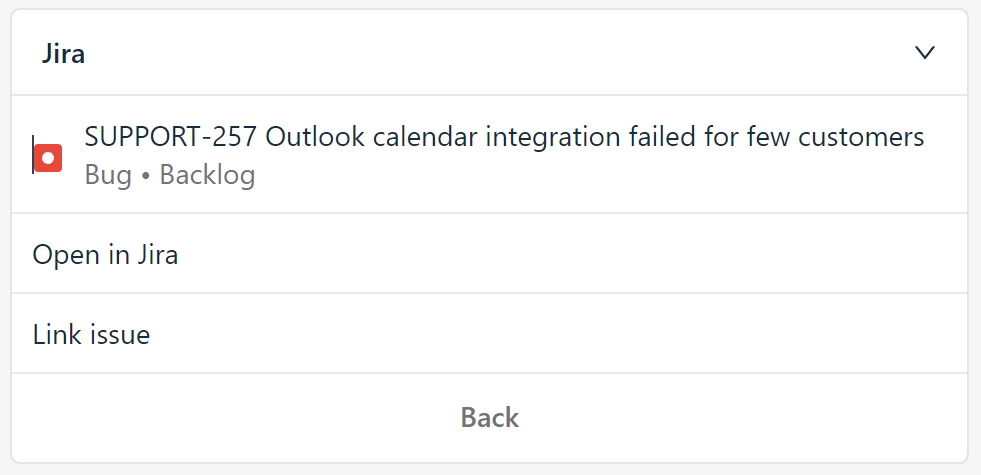
The app shows a selection of the five most recently created issues. If you do not see the issue that you are looking for use the issue search to find the issue. You can search by issue key, e.g. DEV-25, or by text.

Select an issue you want to link to the current conversation and click Link issue to confirm it.
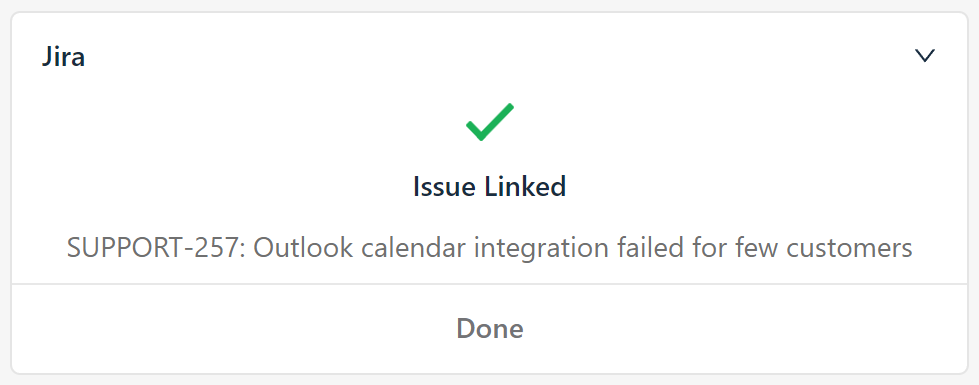
A confirmation message will indicate that the link has been established successfully. Click Done to return to the main screen where you can now see the linked Jira issue.
Inspect linked Gist conversations in Jira issues
In your Jira Cloud, when you open an issue, you will see a "Linked Gist Conversations" section in the right-side bar.
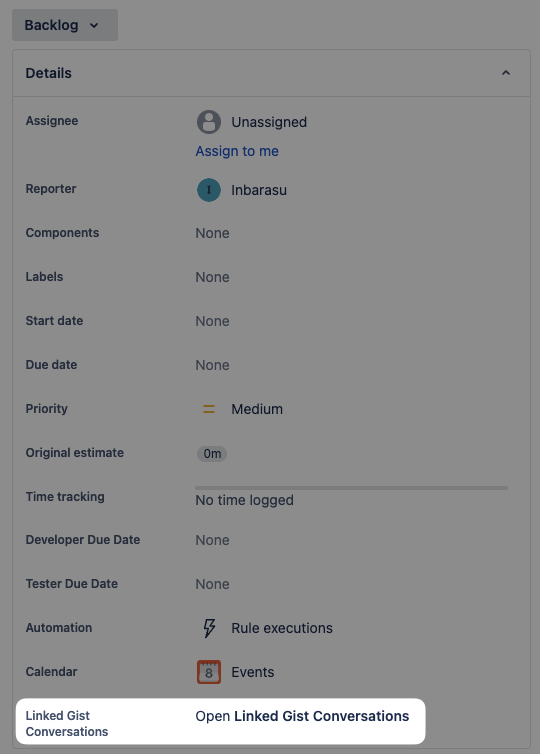
On clicking it, all linked Gist conversations are dynamically loaded. The app also displays an expandable card for each linked conversation with additional information such as the title, status and assignee of the linked conversation.
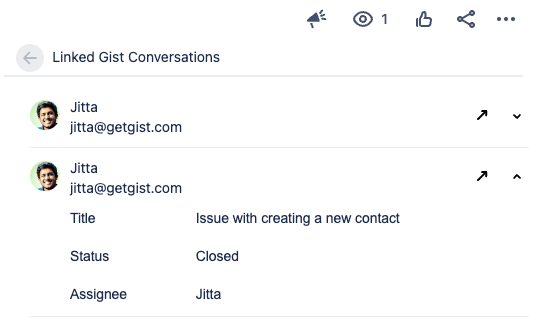
You can click the arrow icon to open the selected Gist conversation in a new tab to view the entire messages history.
Need Help?
If you have any further questions, please start a Live Chat. Just "Click" on the Chat Icon in the lower right corner to talk with our support team.