

Zapier is a powerful automation tool that enables you to connect and synchronize data between Gist and other products you use, such as Clearbit, Zendesk, Unbounce, and Facebook Ads. This guide will walk you through the process of setting up the Zapier integration with Gist, as well as provide information on the key features, supported triggers and actions, and popular Zaps you can create.
1. Introduction to Zapier Integration with Gist
Zapier allows you to create automated workflows, called Zaps, that connect different apps and services together. By combining triggers and actions, Zapier automates repetitive tasks and data synchronization between Gist and other integrated platforms.
2. Key Features
Zapier integration with Gist offers the following key features:
Triggers and Actions: Triggers are events that happen in the products you use, while actions are tasks performed in response to triggers. By combining triggers from one product with actions in another, Zapier automates tasks for you.
Data Synchronization: Zapier enables you to sync data between Gist and other integrated apps, ensuring that information is up-to-date across platforms.
3. Supported Triggers
You can use the following Gist triggers to connect with other products using Zapier:
- New Contact: Triggers when you add a new contact.
- Updated a Contact Property: Triggered when a specified property is updated on any contact. This trigger also activates when a contact is created with this property.
- Tag Added to Contact: Triggers when a specific tag is added to a contact.
- Tag Removed From Contact: Triggers when a specific tag is removed from a contact.
- Subscribed to a Campaign: Triggers when a contact is subscribed to a campaign.
- Unsubscribed From a Campaign: Triggers when a contact is unsubscribed from a campaign.
- Performed an Event: Triggers when a contact performs an event.
4. Supported Actions
The following actions are supported for integrating Gist with other apps:
- Create or Update Contact: Create a new contact or update an existing one.
- Add Tag to an Existing Contact: Apply a tag to an existing contact.
- Remove Tag From Existing Contact: Remove a tag from an existing contact.
- Unsubscribe From a Campaign: Unsubscribe a contact from a specific campaign.
- Subscribe to a Campaign: Subscribe a contact to a specific campaign.
5. Supported Searches
You can perform the following search operations with Gist:
- Find a Contact: Search for an existing contact.
6. Connecting Gist to Zapier
To connect Gist to Zapier, follow these steps:
- Log in to your Zapier account or create a new account if you don't have one.
- Navigate to "My Apps" from the left menu bar.
- In the search bar, enter "Gist" and select it from the list of available apps.
- Click on "Add connection" to initiate the connection process.
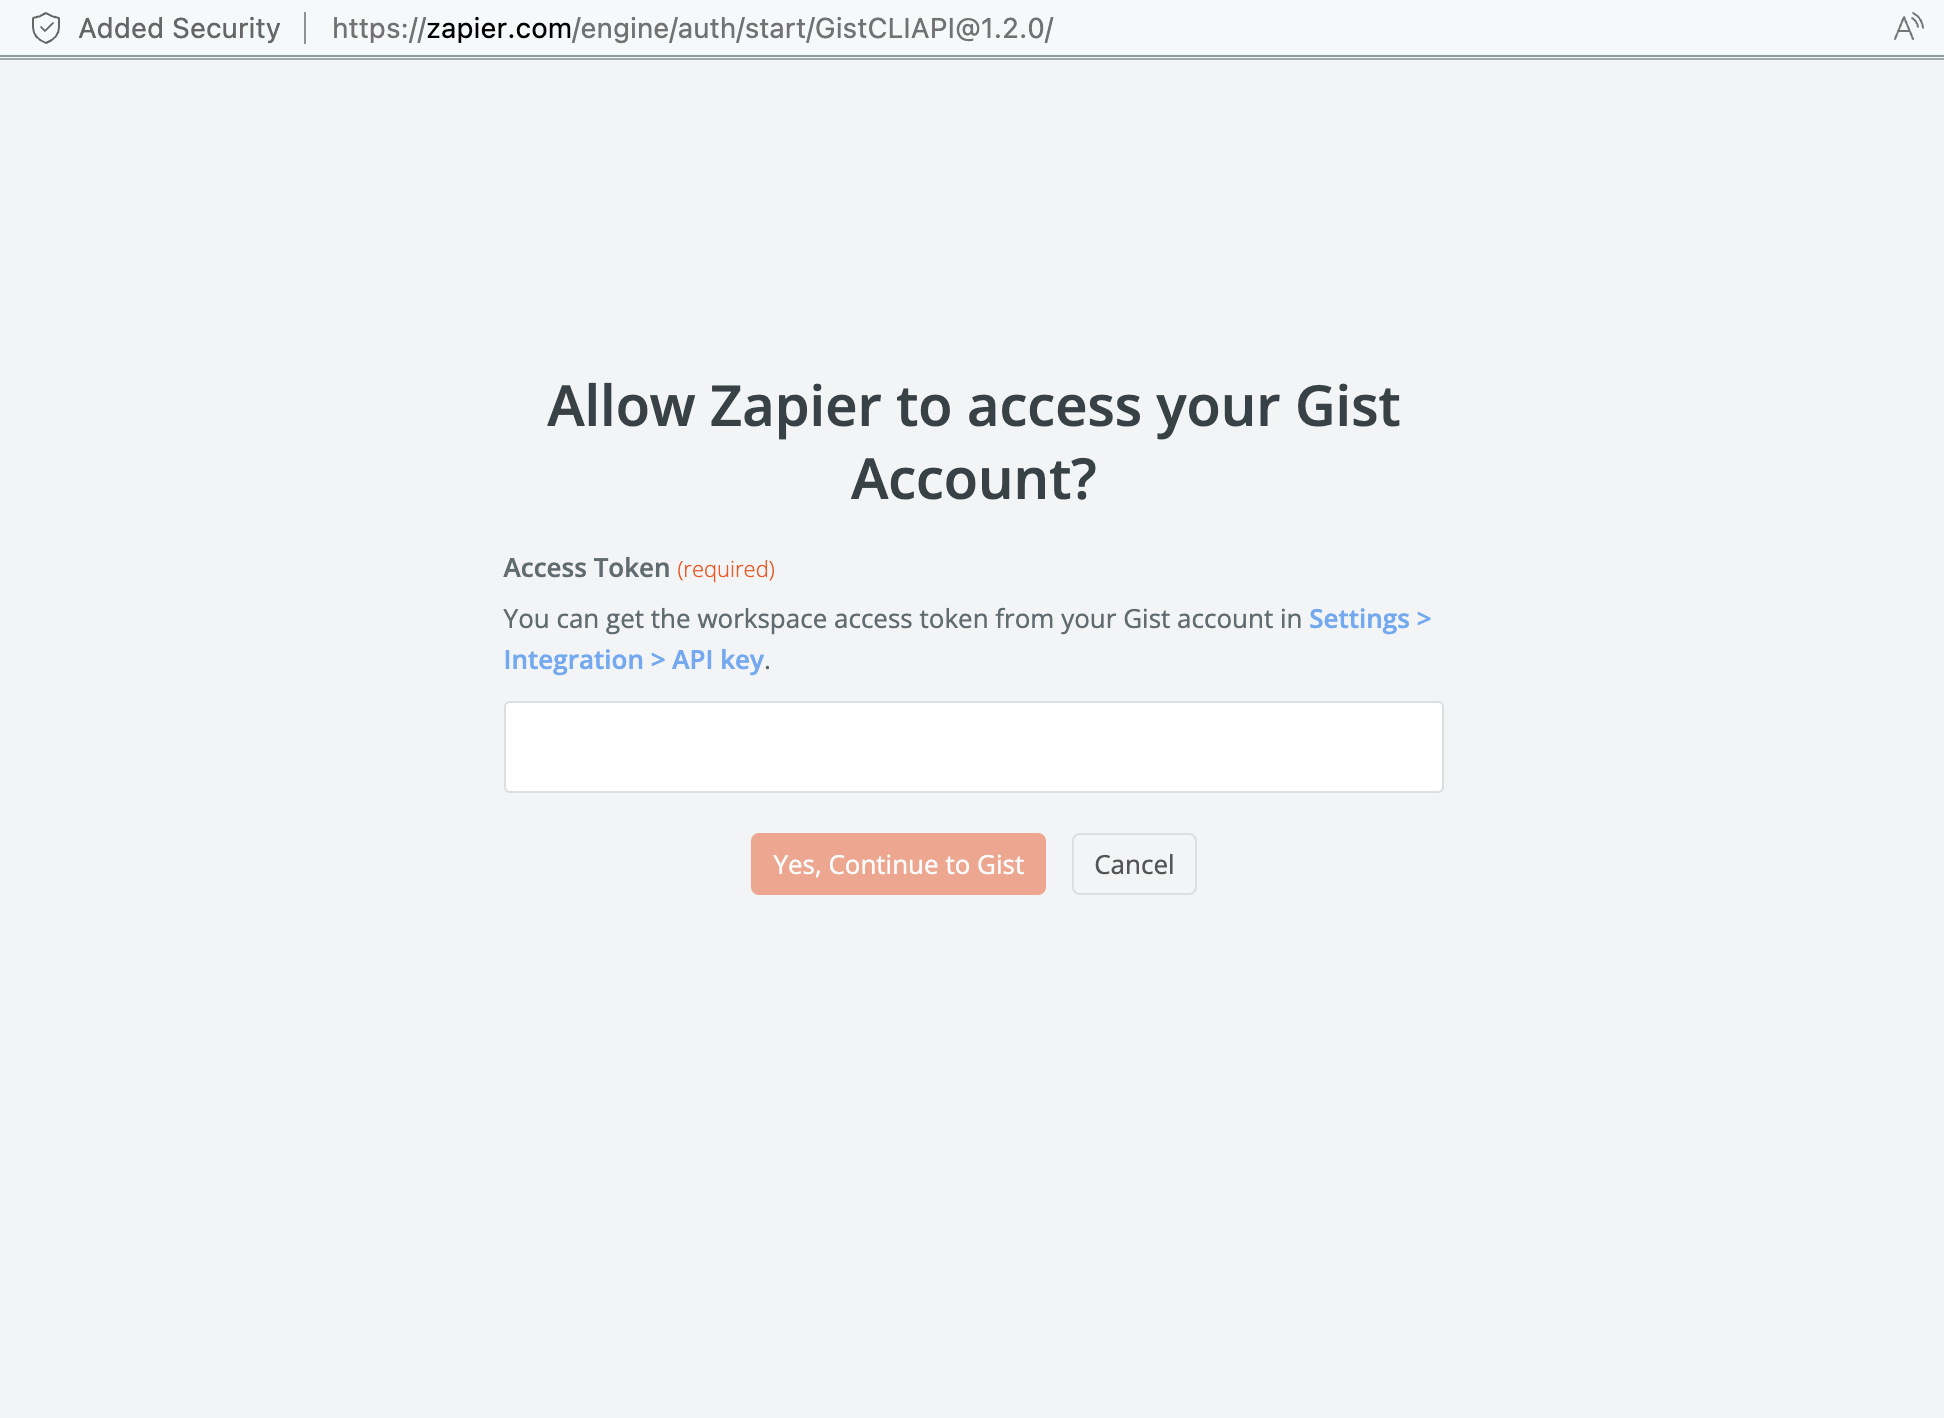
- Provide your Gist API key to connect your Gist account to Zapier.
Once the connection is established, you are ready to start creating automations!
7. Creating a Zap
Zapier offers two options for creating a Zap: using a pre-made Zap or building your own Zap using the Zap Editor. Follow these steps to create a Zap:
Using a Pre-Made Zap:
- Browse the Zapier library or explore popular Zaps related to Gist.
- Select a pre-made Zap that fits your requirements.
- Follow the step-by-step instructions to customize and activate the Zap.
Building your Own Zap:
- Click on the "Make a Zap" button on your Zapier dashboard.
- Choose the trigger app (e.g., Gist) and select the trigger event you want to use.
- Connect your Gist account and configure the trigger settings.
- Choose the action app and select the action you want to perform.
- Configure the action settings and map the data fields from the trigger to the action.
- Test the Zap to ensure it's functioning correctly.
- Activate the Zap to start automating your workflow.
- Learn more about creating a Zap.
8. Popular Zaps
Here are some popular Zaps you can create using the Gist integration:
Send Facebook Leads to Gist: If you run Facebook lead ad campaigns, you can use Zapier to send the leads you generate to Gist automatically.
Enrich Your User Data with Clearbit: Utilize Clearbit with Zapier to add social and company data to your new contact profiles in Gist.
Send or Update Leads from Unbounce: If you use Unbounce to create landing pages, Zapier allows you to automatically send new leads or update existing leads or users in Gist.
9. Common Questions
Q: How do I find my API key in Gist to connect it with Zapier?
A: To find your API key in Gist, follow these steps:
- Log in to your Gist account.
- Select "Settings" from the top menu.
- In the left sidebar, navigate to API & webhooks > API key.
- You will find your API key on this page. Click on the "Copy" button to copy it to your clipboard.
- Use this API key to connect your Gist account with Zapier.
Q: Can I integrate Gist with other apps using Zapier if I'm on a free Gist plan?
A: Yes, you can integrate Gist with other apps using Zapier, even if you're on a free Gist plan. Zapier integration is available to all Gist users, regardless of their plan. However, please note that certain advanced features or limitations of the free plan may affect the scope of what you can achieve with the integration. Refer to the specific Zapier integration capabilities within your Gist account for more details.
Q: Can I create custom triggers and actions for Gist with Zapier?
A: Zapier provides a range of pre-built triggers and actions for Gist that cover various scenarios. However, if you require additional customizations, you may need to explore more advanced integration options or consult with our support team to explore possibilities. In most cases, the available triggers and actions in Zapier should be sufficient for automating your workflows and synchronizing data between Gist and other apps.
Q: Is it possible to use multiple Gist accounts with Zapier?
A: Yes, you can connect multiple Gist accounts with Zapier. Each Zap you create can be associated with a specific Gist account. When setting up a Zap, you will be prompted to connect to your Gist account, and you can choose the relevant account you wish to integrate. This flexibility allows you to manage and automate workflows across multiple Gist accounts seamlessly.
Q: How can I test my Zap before activating it?
A: Zapier provides a testing feature to ensure your Zaps are working correctly before activating them. After configuring the trigger and action settings for your Zap, you can run a test to see how the data flows between the apps. This allows you to identify any issues or errors and make adjustments if needed. Testing your Zap gives you confidence that it will function as expected when activated, minimizing any potential errors in your automation.
Q: Can I modify or update my Zaps after I've created them?
A: Yes, you can modify or update your Zaps in Zapier even after you've created them. If you need to make changes to your Zap, such as adjusting the trigger settings, action configurations or adding additional steps, you can do so by accessing the Zap in your Zapier dashboard. Simply edit the specific settings you wish to modify and save your changes. It's important to review your Zap carefully after making any updates to ensure its continued functionality.
We hope this guide has provided you with the necessary information to set up and utilize the Zapier integration with Gist effectively. If you have any further questions or need assistance, please reach out to our support team. Happy automating!
Need Help?
If you have any further questions, please start a Live Chat. Just "Click" on the Chat Icon in the lower right corner to talk with our support team.