

Migrating to Gist from another Email Service Provider (ESP) or Customer Relationship Management (CRM) system can seem overwhelming. However, Gist offers a simple method to import your contacts and their data via a CSV file. This guide will help you understand this process and walk you through it step by step.
Before you start an import, learn how to set up your import file to prevent any errors when importing your contacts into Gist.
Preparing for Import
Step 1: Create Your Spreadsheet
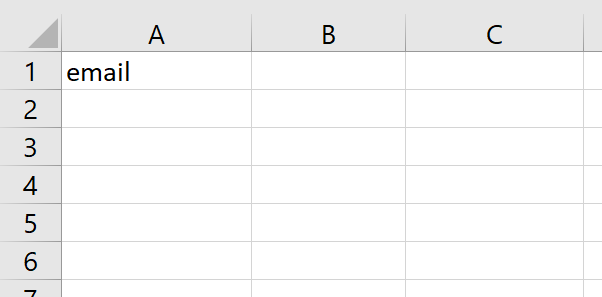
Using a spreadsheet program like Excel or Google Sheets, open a blank worksheet and create and label a column for Email Address. This is the only property that Gist requires.
Step 2: Add Additional Columns
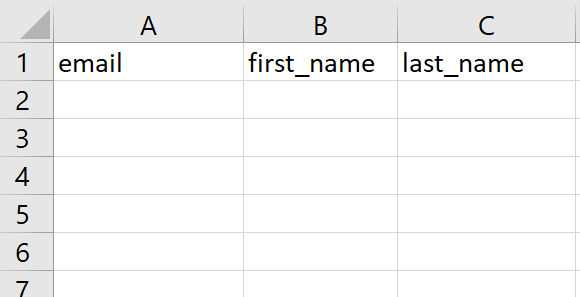
Next to your Email Address column, create and label additional columns for First Name and Last Name. Repeat this step for any other contact properties you want to include in Gist, like phone number, birthday, language, address, or country.
Step 3: Insert Contact Information
Paste your contacts' information into the relevant fields in the spreadsheet.

Step 4: Save as CSV
Once you've filled in all the relevant fields, save the file in CSV format. This option can usually be accessed from the File menu in your spreadsheet program, labeled as "Export as .CSV" or "Download as .CSV". If you use another file type, we won't be able to process the file.
Nice job! Now that you've prepared your CSV file, you're ready to import it to Gist.
Note: Need help saving your spreadsheet file in CSV format before you import? Check out these CSV tips from Excel and Google Sheets. Or, download our sample CSV import file and replace the sample data with your own.
Importing to Gist
Now that your CSV file is ready, let's move on to the import process.
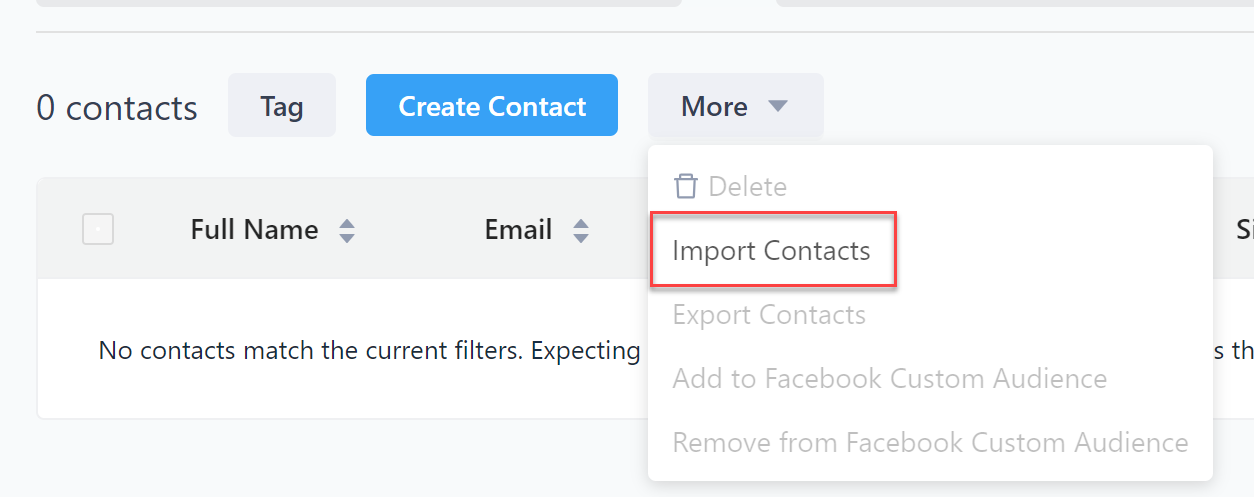
- Navigate to the Contacts page.
- Click the More drop-down and select Import contacts.
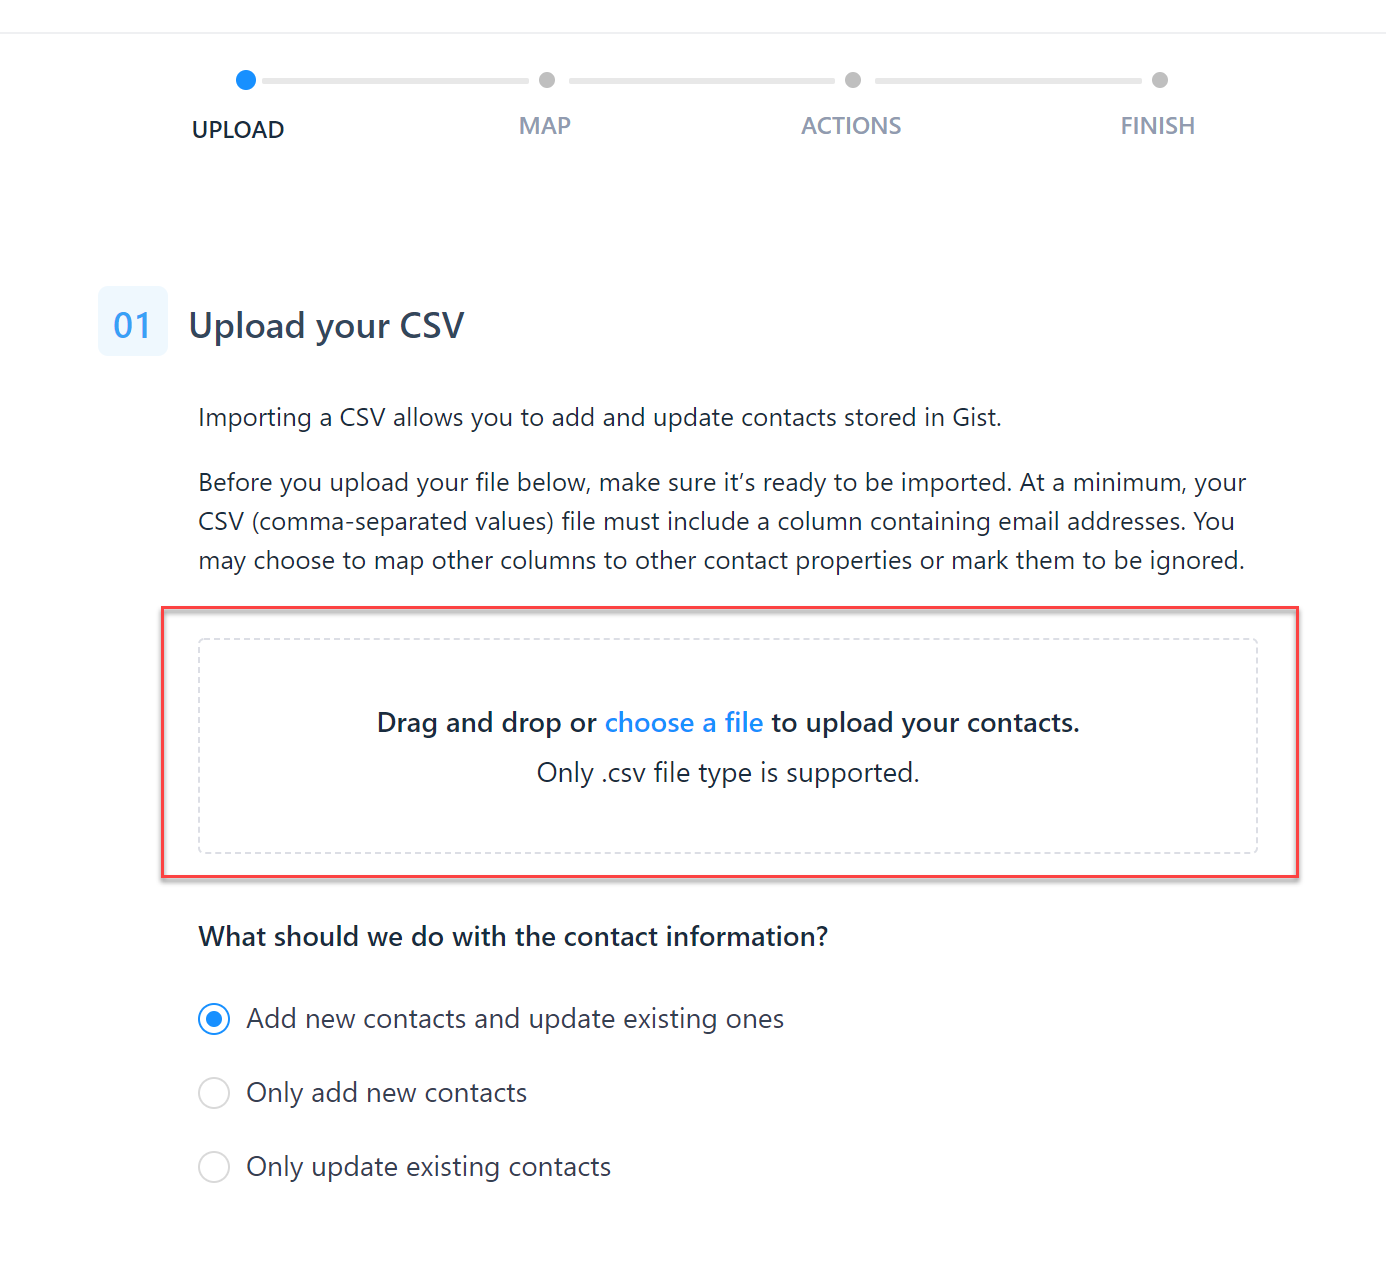
- Drag and drop your CSV file or click 'choose a file' link to browse and choose the file from your computer. Click ‘Upload’. Note that the CSV file cannot have more than 10,000 rows.
- Gist will now prompt you to select the relevant columns that contain your contacts’ email addresses, IDs, full names, and dates of sign-up, etc.
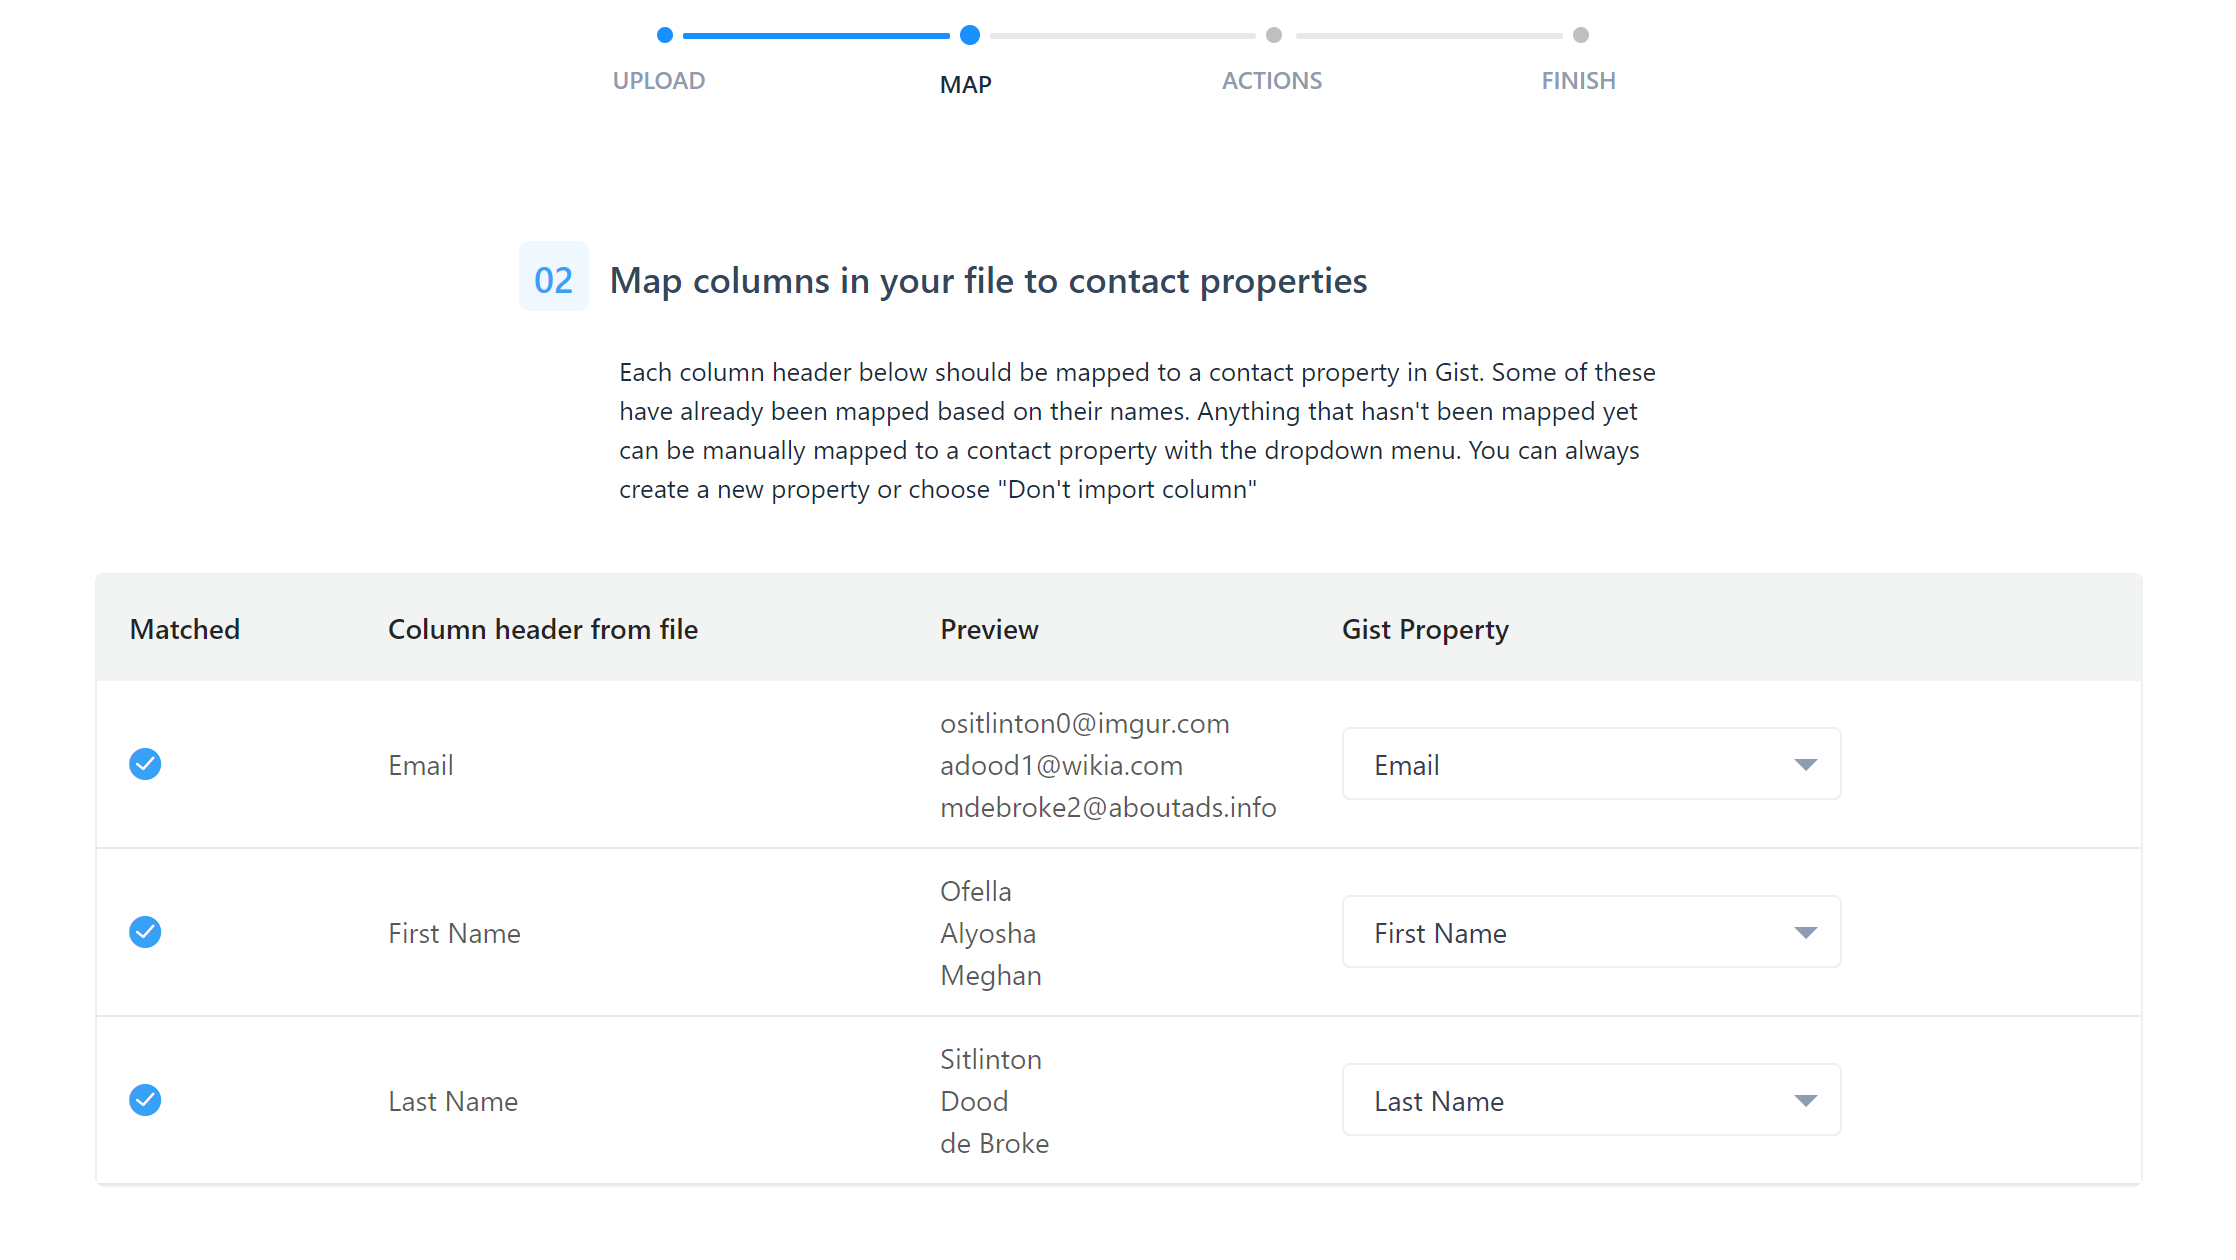
- To map a column to a different property, choose from the drop-down menu against each column name. To create a new property, click the drop-down menu and choose Create a new property.
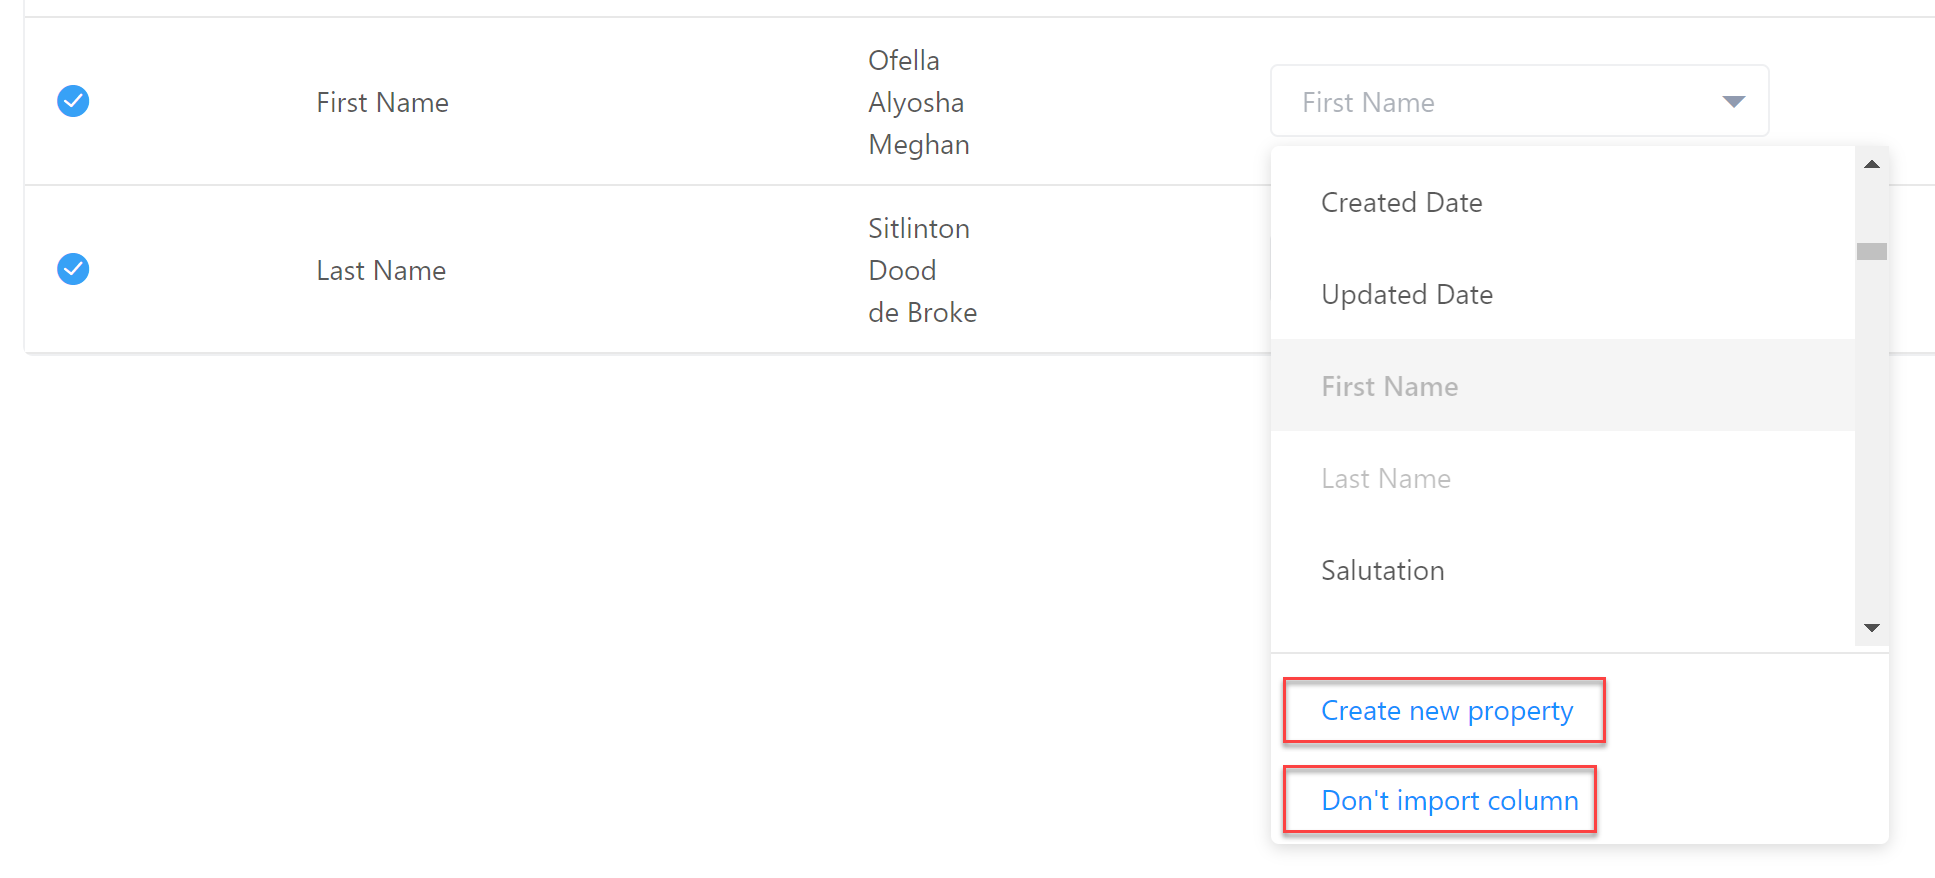
- Repeat step 5 for all unmatched columns. You must match or select "Don't import column" to complete your import. After you're finished matching, click Finish Mapping.
- Give your import a name that you can remember and click the checkbox to confirm you have permission to send email communication to the imported contacts.
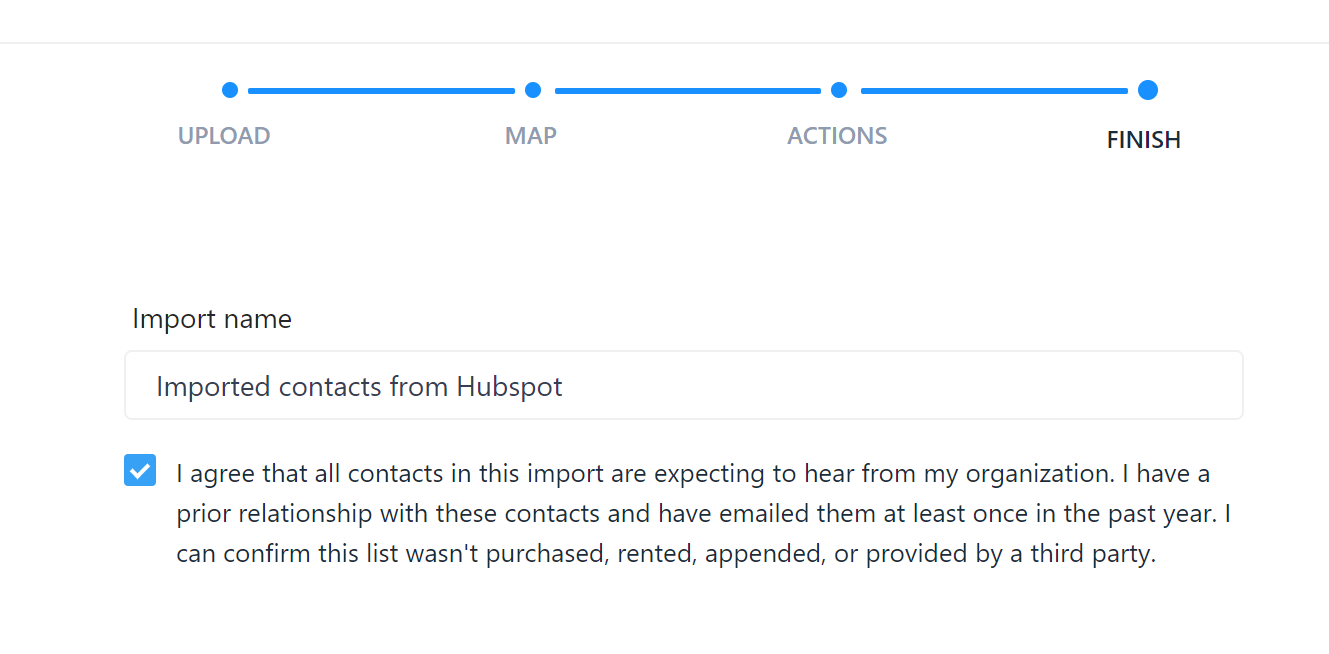
- Click Start Import.
After the import is finished, Gist will send a notification to your email address.
Updating Existing Contacts
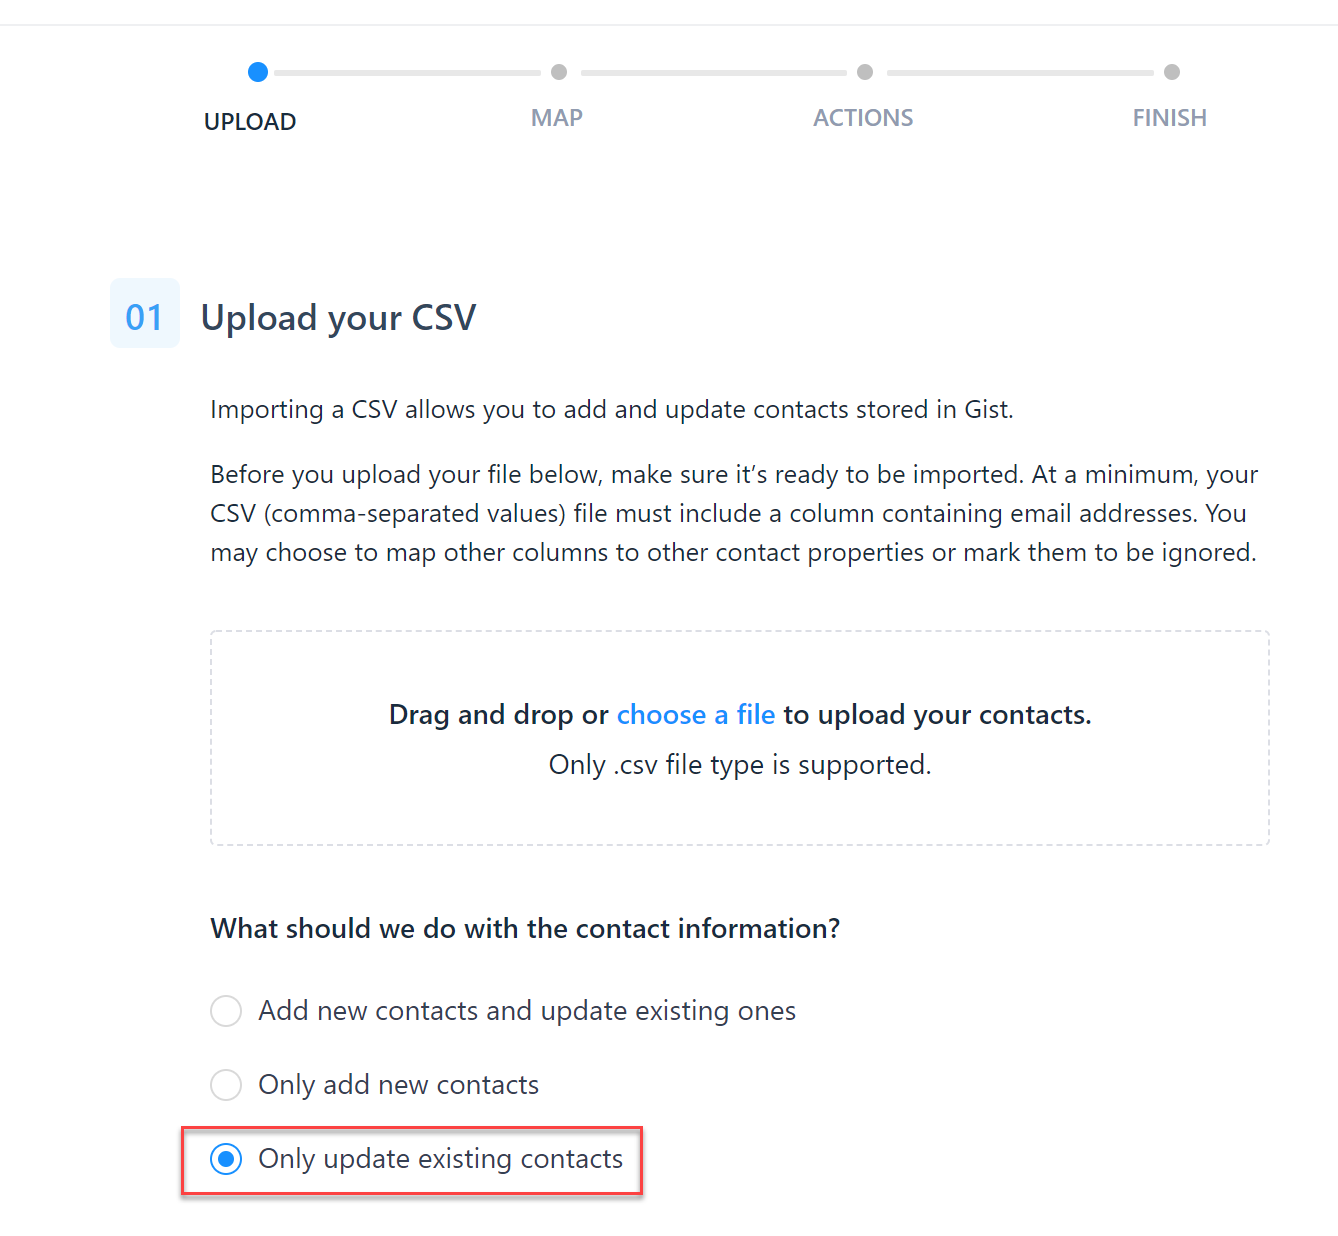
If you need to update your existing contacts’ data, you can use the import tool to update multiple contacts at once. This option replaces existing contact property information with new information from your import file.
Be sure to verify that your column names in your import file match the properties in your Gist workspace and follow the same process to import new contacts. Note, blank fields in the new CSV file DO NOT overwrite and erase existing contact data.
Proceed with a regular file import, and follow the steps to upload your file and match your columns. On the Upload step, check the box next to Only update existing contacts.
That's it! When you import, we'll handle the rest by scanning your contacts and updating their information.
Seeing your Contact Import History
You can review your Contact Import history in your Settings > Import section of your Gist workspace.
Important Notes
Please read the following notes carefully to prevent any issues during the import process:
Date Formats: If you have chosen the date format on the Mapping, make sure you've chosen the MM/DD/YYYY format for the date. If any of the columns have the date added in a different format, it will throw an error.
Column Limits: Try to limit the number of columns when importing. A good limit is ten. If you have more columns, consider splitting the CSV data and import multiple times.
Non-Alphabetic Characters: Do not add non-alphabetic characters to the CSV headers. Use Email instead of E-mail, Full_Name instead of Full Name.
Row Limits: Limit the number of rows to 10,000 per import. If you need to import more, upload multiple CSV files.
Outbound emails: If any of the imported contacts immediately match the criteria for an ongoing email or a campaign that you have live, they will receive those emails right away.
Updating Existing Contacts: When updating existing contacts, a blank field will result in overwriting values to 'unknown'.
Import History: You can see your data Import history in your settings section in Gist.

Company properties: Gist can only import contact properties. It's not possible to import company properties at the moment.
Common Questions
1. Is there a limit to the number of contacts I can import at a time?
Yes, you should limit your import file to contain fewer than 10,000 contacts/rows. If you have more contacts, you will need to create multiple CSV files and import them separately.
2. What is the maximum file size that I can upload for import?
The import file should be smaller than 10MB.
3. What should my import file include?
Your import file must include a header row. During the import process, Gist will match the column header to the property name, where possible.
4. Do I need to include an email address for every contact?
Yes, the only property Gist requires for each contact is the Email Address. Other fields are optional but may be necessary for personalization, segmentation, or other features.
5. How do I format the text fields in my CSV file?
Text fields are limited to a maximum of 255 characters.
6. How do I format the number fields in my CSV file?
For number fields, you can import numbers or currency values. Gist will parse the number from the CSV file and store it in the respective contact property.
7. How should I format date fields?
You should use either the ISO Standard year-month-date format (YYYY-MM-DD) or month-day-year format (MM-DD-YYYY), or UNIX timestamp. For best results, use the ISO Standard format, YYYY-MM-DD.
8. Can I import tags with my contacts?
Yes, you can import tags. Create a single column in your spreadsheet labelled Tags. For each contact, add all of the tags that apply to them, separated by commas.
9. Can I get a sample import file to understand the formatting better?
Yes, you can download the sample CSV import file provided by Gist. This file contains columns for an import that includes email address, first name, last name, tags, and a custom property. You can replace the sample data with your contact data.
10. What happens to my contacts after they are imported into Gist?
After you've successfully imported your contacts into Gist, they will become part of your contact database and can immediately match the criteria for any live email or outbound message. They will then receive these messages instantly.
11. Can I import company properties into Gist?
No, as of now, Gist does not support the import of company properties.
12. Can I update my existing contacts in Gist through a CSV import?
Yes, you can update your existing contacts through a CSV import. You need to prepare your spreadsheet, ensuring the column names in your import file match the properties in your Gist workspace. Blank fields DO NOT overwrite and erase existing contact data.
Need Help?
If you have any further questions, please start a Live Chat. Just "Click" on the Chat Icon in the lower right corner to talk with our support team.